How To Create An Amazon Storefront
You’ve seen those slick Amazon pages with curated products, pretty banners, and custom categories and thought: “Wait… regular people can do that? Not just big brands?”
Yep. You can. And if you’re a creator, influencer, or brand, an Amazon storefront can quietly become one of your most reliable income streams.
This guide walks you step‑by‑step through how to create an Amazon storefront, the different types (influencer vs. brand), and what to do after you set it up so it actually makes money—not just look cute.
First: What Exactly Is an Amazon Storefront?
Think of an Amazon storefront like your own mini shop inside Amazon.
Depending on who you are, it’s usually one of two things:
- Amazon Influencer Storefront
A curated page where influencers/creators list products they recommend. You earn commissions via Amazon Associates (their affiliate program) when followers buy using your links. - Amazon Brand Store (Storefront for sellers/brands)
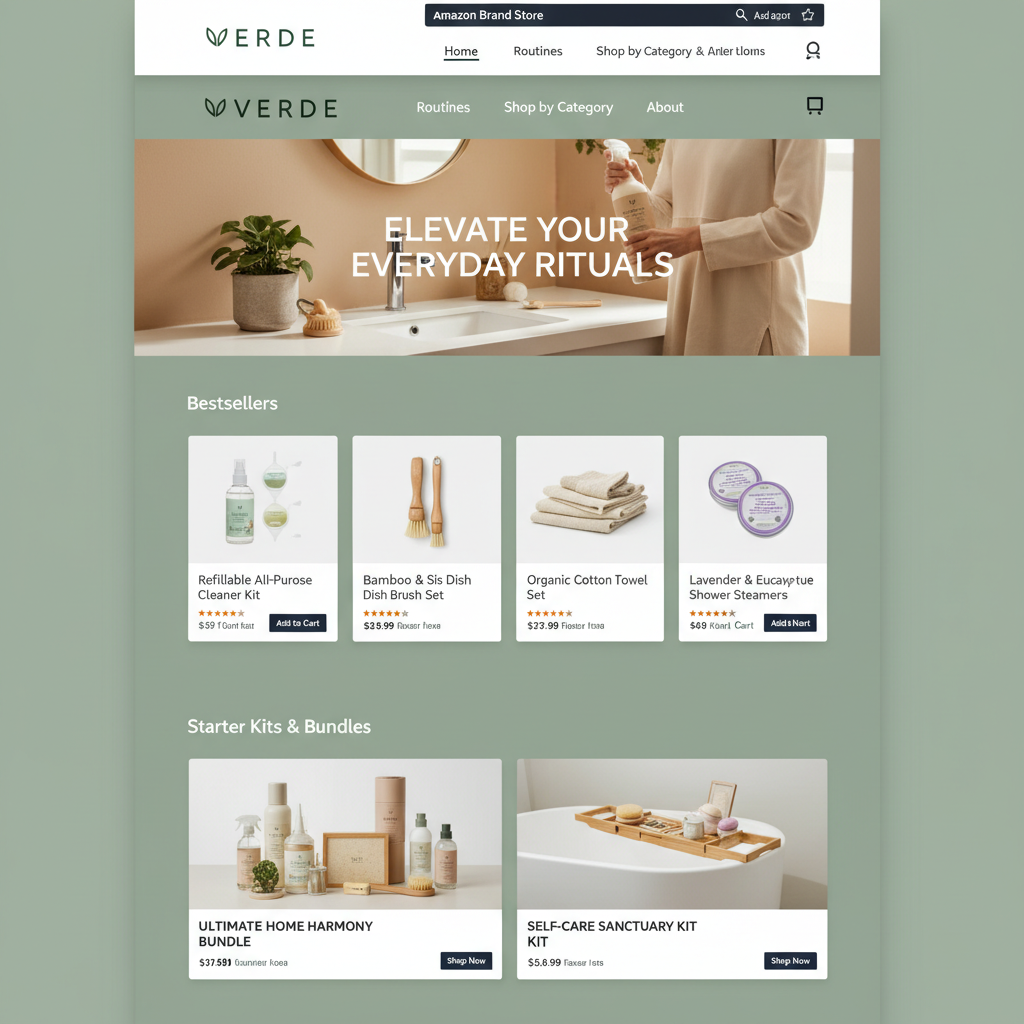
A multi-page, customizable “brand hub” for trademarked brands enrolled in Amazon Brand Registry. It lets you showcase your catalog, tell your brand story, and drive ads and traffic to a polished, branded experience.
Influencer path
If you create content on TikTok, Instagram, YouTube, Pinterest, etc. → you probably want the Amazon Influencer Storefront.
Brand / seller path
If you sell your own branded products on Amazon → you want an Amazon Brand Store.
I’ll walk you through both.
How To Create an Amazon Influencer Storefront (Step‑by‑Step)
This is the “content creator” path. You do not need to have your own physical products—you’re recommending other people’s.
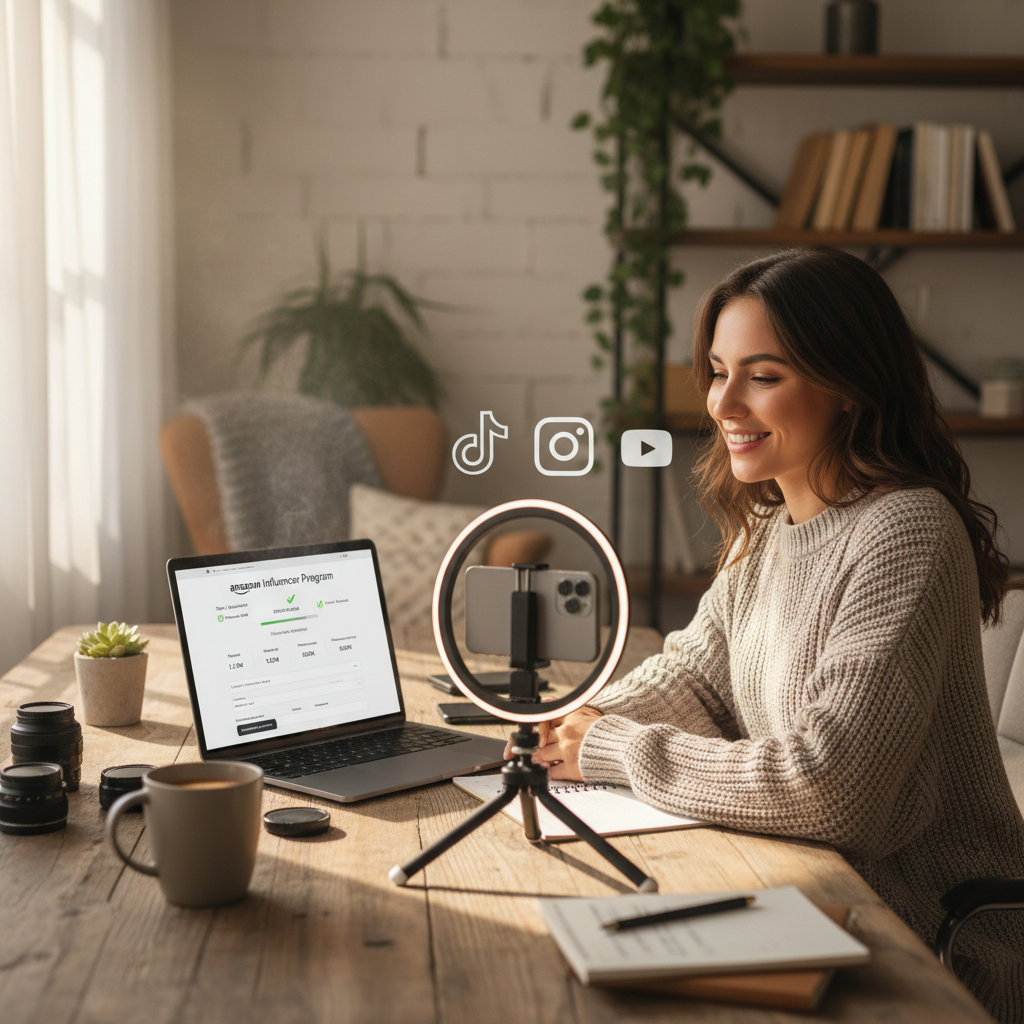
Step 1: Check If You Qualify For the Amazon Influencer Program
To get a storefront as a creator, you must first join the Amazon Influencer Program. That’s built on top of Amazon Associates.
Amazon looks at:
- Your social media accounts (TikTok, Instagram, YouTube, Facebook, etc.)
- Your follower count & engagement
- Whether your content is a good fit for product recommendations (hauls, reviews, tutorials, etc.)
You don’t need millions of followers, but you should have:
- A real audience (not 27 bots and your mom)
- Public, active profiles with consistent content
Step 2: Apply to the Amazon Influencer Program
Here’s the general process:
- Go to Amazon and sign in with the account you want tied to your earnings.
- Search for “Amazon Influencer Program apply” (or, from Amazon Associates, look for the Influencer option).
- Click Sign Up or Get Started under the Influencer Program.
- Connect one of your social channels (they may ask for TikTok, Instagram, YouTube, or Facebook).
- Fill out the required info and submit.
Amazon will review your application. Approval can be:
- Instant (sometimes)
- Or take a few days
If you’re denied, don’t panic:
- Improve your content quality and consistency.
- Grow your audience.
- Reapply after your presence looks stronger and more on-brand for product recommendations.
Step 3: Set Up Your Amazon Influencer Storefront
Once you’re approved, you’ll see access to your Storefront area in your Amazon Influencer dashboard.
Here’s how to set it up like a pro:
3.1 Choose Your Storefront Name & URL
You’ll be prompted to:
- Pick a display name (often your creator name or brand)
- Customize your storefront URL slug (e.g.,
amazon.com/shop/yourname)
Tips:
- Use something consistent with your handle on TikTok/IG/YouTube.
- Keep it short, clear, and easy to say out loud in videos.
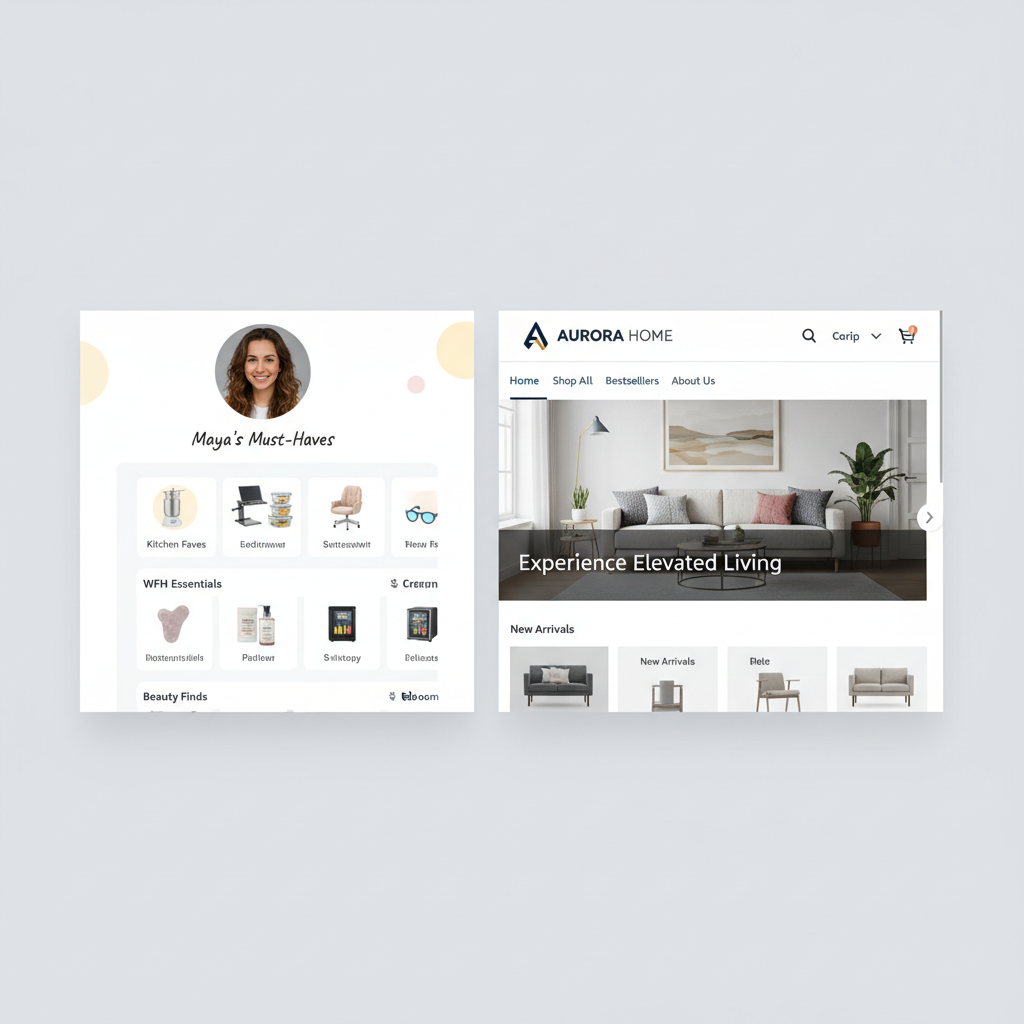
3.2 Add a Profile Photo & Cover Image
Treat this like social media branding, not an afterthought.
- Profile photo: clear headshot or logo
- Cover image: a banner that matches your vibe (clean, bold, colorful, aesthetic—whatever fits your brand)
Make sure it looks good on both desktop and mobile (check it from your phone—90%+ of your audience will).
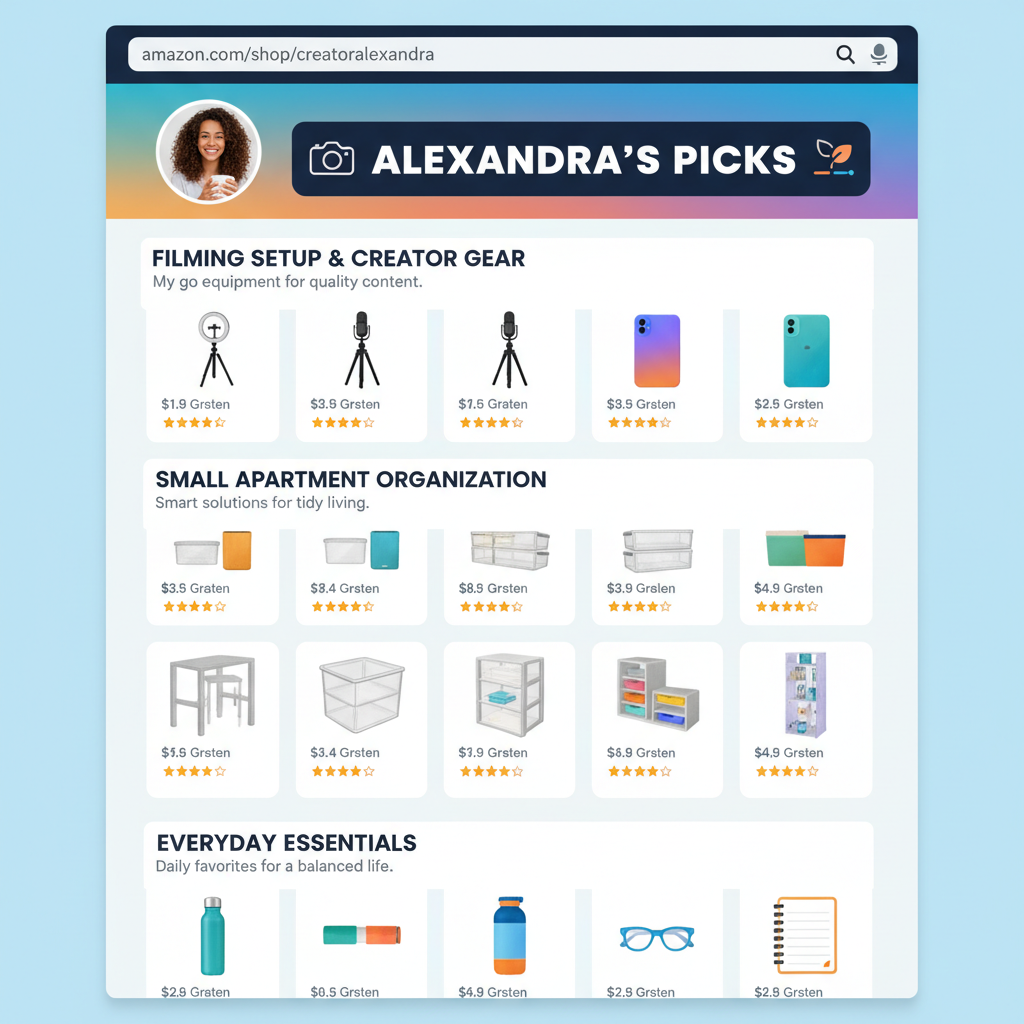
3.3 Create Idea Lists / Product Collections
This is where your storefront stops being empty and starts making money.
You can create lists (sometimes called Idea Lists, categories, or collections), such as:
- “Filming Setup & Creator Gear”
- “Kitchen Favorites I Actually Use”
- “Work From Home Essentials”
- “Toddler Must-Haves That Save My Sanity”
Inside each list, add products you genuinely recommend.
How to add products:
- Search for products on Amazon as usual.
- On qualifying product pages, you’ll see options in your influencer/associate tools to add to list or add to storefront.
- Organize them into the most intuitive list for your audience.
3.4 Write Snappy List Names & Descriptions
Don’t just call a list “Stuff” or “Amazon Finds.” That doesn’t help anyone.
Examples of better names:
- “Small Apartment Organization (No Drilling!)”
- “Starter Camera Gear for Beginners Under $500”
- “Cozy Reading Nook Essentials”
Under each list, add a short description:
- Who it’s for
- Why you picked these items
- How they should use it (if relevant)
Step 4: Customize and Make It On-Brand
You don’t get total design freedom, but you do have enough to make it feel like you.
Ways to level it up:
- Consistent visuals: Use similar tones or styles for your profile + cover.
- Clear sections: Put your most popular or most requested lists at the top.
- Pin “starter” collections: For example, “Start Here: My Everyday Essentials.”
Remember: people landing on your Amazon storefront don’t know where to click first. Your job is to guide them.
Step 5: Drive Traffic To Your Storefront (Where the Money Happens)
Creating an Amazon storefront doesn’t magically bring traffic; you have to feed it.
Here are practical ways to send people there:
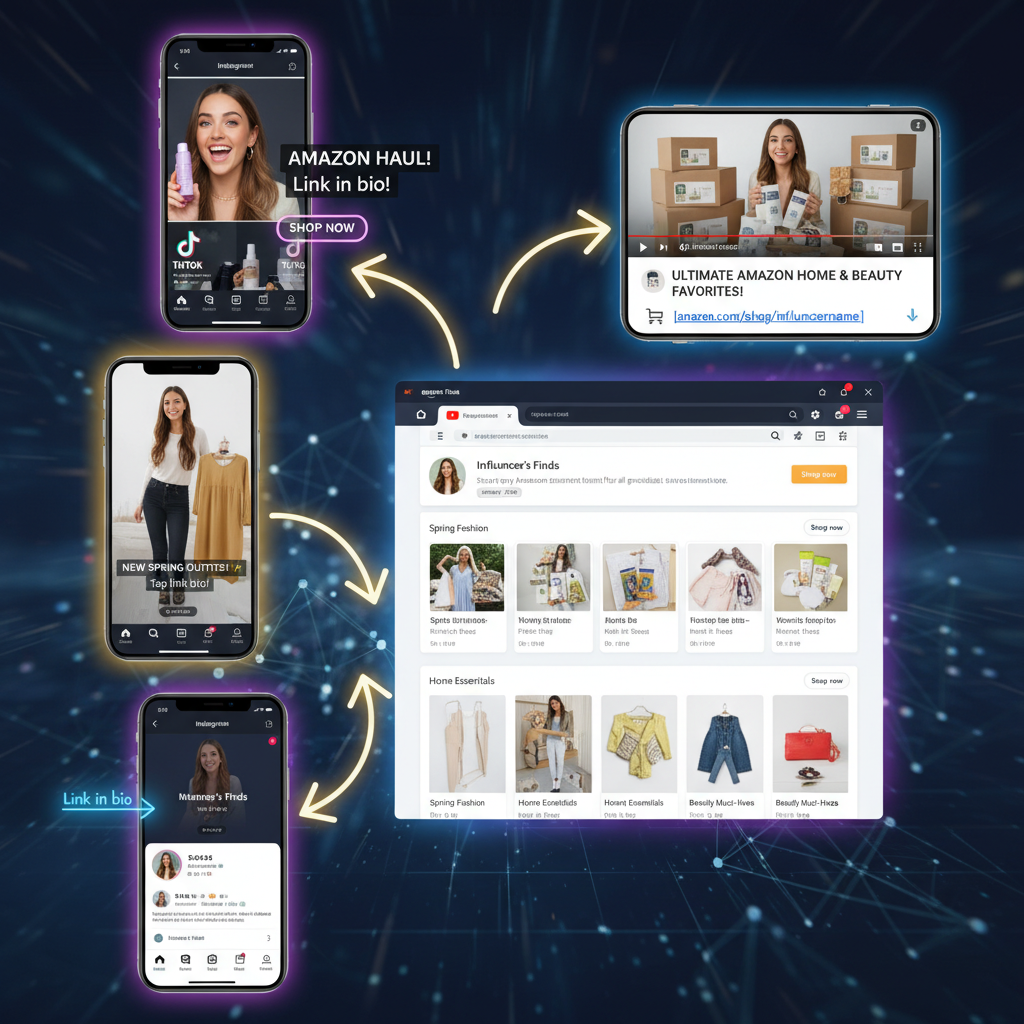
5.1 Add Your Storefront Link Everywhere
- TikTok bio
- Instagram bio (or Link in Bio tool)
- YouTube channel links + video descriptions
- Pinterest profile
- Blog/website sidebar or menu
- Email newsletter footer
Use short, memorable CTAs like:
- “Shop my Amazon storefront here: …”
- “Everything I mentioned is linked in my Amazon shop.”
5.2 Mention It Naturally in Content
Whenever you:
- Do an unboxing or haul
- Share routines (“Get Ready With Me,” “Clean With Me,” “Day in the Life”)
- Show products on camera
…say something like:
- “If you want any of these, they’re all in my Amazon storefront under ‘Kitchen Faves.’”
Repetition is not annoying when it’s useful.
5.3 Create Storefront-Specific Content
Examples:
- “Amazon favorites I regret not buying sooner”
- “My top 10 Amazon productivity tools”
- “Everything on my Amazon storefront under $25”
Then pin or highlight that content and link the storefront.
How To Create an Amazon Brand Storefront (For Sellers)
Now let’s switch gears.
If you sell your own products on Amazon and want a branded store (with a logo, custom pages, navigation, and product categories), you’ll create an Amazon Store inside Seller Central.
Step 1: Get Into Amazon Brand Registry
To create a Brand Store, you must:
- Have a registered trademark (or be in the process, depending on your region and rules)
- Enroll that brand in Amazon Brand Registry using that trademark
Once your brand is successfully enrolled, you’ll see the option to create a Store.
If you don’t have a trademark yet:
- Consider filing one (or working with a trademark attorney).
- Until then, you can still sell on Amazon, but you won’t get full Brand Store features.
Step 2: Open the Store Builder in Seller Central
From the Seller Central dashboard:
- Go to the Stores tab (may show as “Stores > Manage Stores”).
- Click Create Store.
- Select the brand that’s enrolled in Brand Registry.
You’ll now be in the drag‑and‑drop Store Builder.
Step 3: Set Up Your Brand Homepage
You’ll choose a template layout (grid, hero image with product tiles, etc.) and then customize:
- Brand logo
- Hero image or banner (high-quality visual that communicates your brand)
- Tagline or short copy that explains what you sell and why it matters
Best practices:
- Keep copy punchy and benefit-based: “Comfortable, minimalist home office gear” beats “We sell office products.”
- Use lifestyle images, not just white-background product photos.
Step 4: Add Pages and Organize Products
You can add multiple pages to mimic a website structure, for example:
- Home
- Shop All
- By Category (e.g., “Skincare,” “Hair,” “Tools”)
- Bundles
- Bestsellers
- About the Brand
On each page, use content tiles to:
- Feature specific products (ASINs)
- Add carousels (for scrolling through items)
- Insert images with text overlays
- Drop in video content (product demos, founder story, etc.)
Make navigation obvious:
- Limit top menu items to what actually matters
- Add a “Shop All” for people who just want to browse everything
Step 5: Optimize Your Brand Storefront for Conversions
Your Brand Store isn’t just decoration—it’s a conversion machine if set up right.
Focus on:
- Clear paths: Put bestsellers and hero products above the fold.
- Social proof: Use tiles that highlight top‑reviewed products, “bestseller” badges (where allowed), or “As seen in…” logos if you have press.
- Bundles & collections: Create groups like “New Customer Starter Kit” or “Gifts Under $50.”
- Mobile layout: Preview on mobile; rearrange tiles if needed so the most important things show first on phones.
Step 6: Send Traffic To Your Brand Store
Once your store is live, you can:
- Use Sponsored Brands ads to send ads to your Store instead of a single product page.
- Link your Store from social media, email, website, QR codes on packaging, etc.
- Use short links (Amazon lets you create a custom URL path for your store) so it’s easy to share.
Influencer vs. Brand Storefront: Which Is Right for You?
Choose an Influencer Storefront if:
- You’re a creator recommending products (not necessarily your own)
- Your main asset is your audience, not your warehouse
- You want affiliate commissions without managing inventory
Choose a Brand Storefront if:
- You own a brand selling physical products on Amazon
- You have (or plan to have) a registered trademark
- You want a polished, on‑Amazon brand experience and to run ads to it
You can technically be both (a creator and a brand owner), but treat them as separate strategies.
Examples of Smart Amazon Storefront Strategies
Here are a few simple “plays” you can steal:
Example 1: The TikTok Home Organizer
- Niche: Small apartment organization hacks.
- Storefront lists: “Tiny Kitchen Must-Haves,” “Bathroom Storage,” “Closet Organization,” “Rental-Friendly Fixes.”
- Content: Before/after videos, “Watch me organize this chaotic cabinet with items from my Amazon storefront.”
- Result: Viewers binge those videos, then hit the storefront to copy the exact setup.
Example 2: The Beauty Brand Store
- Brand: Indie skincare brand selling on Amazon.
- Store pages: Home, Bestsellers, Routines (AM/PM), Ingredients, About.
- Homepage: Hero image with their hero serum + short copy about their differentiator.
- Traffic: TikTok routine videos + Sponsored Brands ads leading straight to “Routines” page.
Example 3: The WFH Productivity Creator
- Niche: Remote work, productivity, and tech.
- Storefront lists: “Desk Setup Essentials,” “Budget Tech Gear,” “Ergonomic Favorites,” “Video Call Setup.”
- Content: Desk tours, “What’s on my desk,” “Zoom setup for under $300.”
- CTA: “Everything is linked in my Amazon storefront under ‘Desk Setup Essentials.’”
Common Mistakes When Creating an Amazon Storefront
Avoid these if you don’t want your storefront to flop silently:
- Being too generic
“Random Amazon Finds” is not a niche. Get specific. - Overloading with products
200+ random items in one list = decision fatigue. Curate. - No context or descriptions
People need to know why you love something, not just see a thumbnail. - Never updating your storefront
Out-of-stock items, dead trends, or old products make your page feel abandoned. - Forgetting mobile
Design and check everything like your audience is viewing on a phone—because they are.

What To Do In Your First 30 Days After Launch
Once your Amazon storefront is live, here’s a simple 30‑day game plan:
Week 1
- Finalize your lists/pages and polish visuals.
- Add your storefront link to all bios, websites, and link-in-bio tools.
Week 2
- Create at least 3–5 content pieces that directly reference your storefront.
- Test different CTAs: “linked in bio,” “shop my Amazon storefront,” “in my Amazon list called…”
Week 3
- Check which lists/products are getting the most clicks and sales.
- Move those higher up your storefront.
Week 4
- Refresh any underperforming lists.
- Add a new themed collection based on what your audience is asking for.
Final Thoughts: Your Amazon Storefront Is a Launchpad, Not the Finish Line
Creating an Amazon storefront—whether as an influencer or a brand—is not hard. The strategy behind it is where most people win or lose.
If you:
- Know who you’re talking to
- Curate products or pages that solve real problems
- Consistently send traffic from your content or ads
…your storefront can turn into a surprisingly steady revenue stream.
So yes, build the storefront. But then? Spend your real energy making it the most helpful, obvious next step for the people already watching you or shopping your products.
That’s where the magic (and the commissions) live.
Leave a Reply