How To Use A Vanilla Gift Card On Amazon
You’ve got a Vanilla Visa/Mastercard gift card in your hand and an Amazon cart full of stuff you absolutely need (or at least deeply want).
Now the big question: can you use a Vanilla gift card on Amazon, and how?
Short answer: yes, you usually can—but it’s a little fussier than a normal debit card. If you skip a couple of key steps, Amazon will just keep declining it and you’ll start questioning your life choices.
This guide walks you through exactly how to use a Vanilla gift card on Amazon, what to do when it doesn’t work, and a few pro tips so you don’t accidentally strand money on the card forever.
Quick Answer: Can I Use a Vanilla Gift Card on Amazon?
Yes. In most cases, you can use a Vanilla Visa, Mastercard, or Discover gift card on Amazon as if it were a regular debit or credit card.
However:
- You usually can’t add it as a permanent “gift card balance” like an Amazon gift card.
- You’ll add it under “Credit or debit card” during checkout.
- You need to match the amount charged to the remaining balance on the Vanilla card (or at least not exceed it).
Think of your Vanilla gift card as a prepaid debit card, not as an “Amazon gift card.”
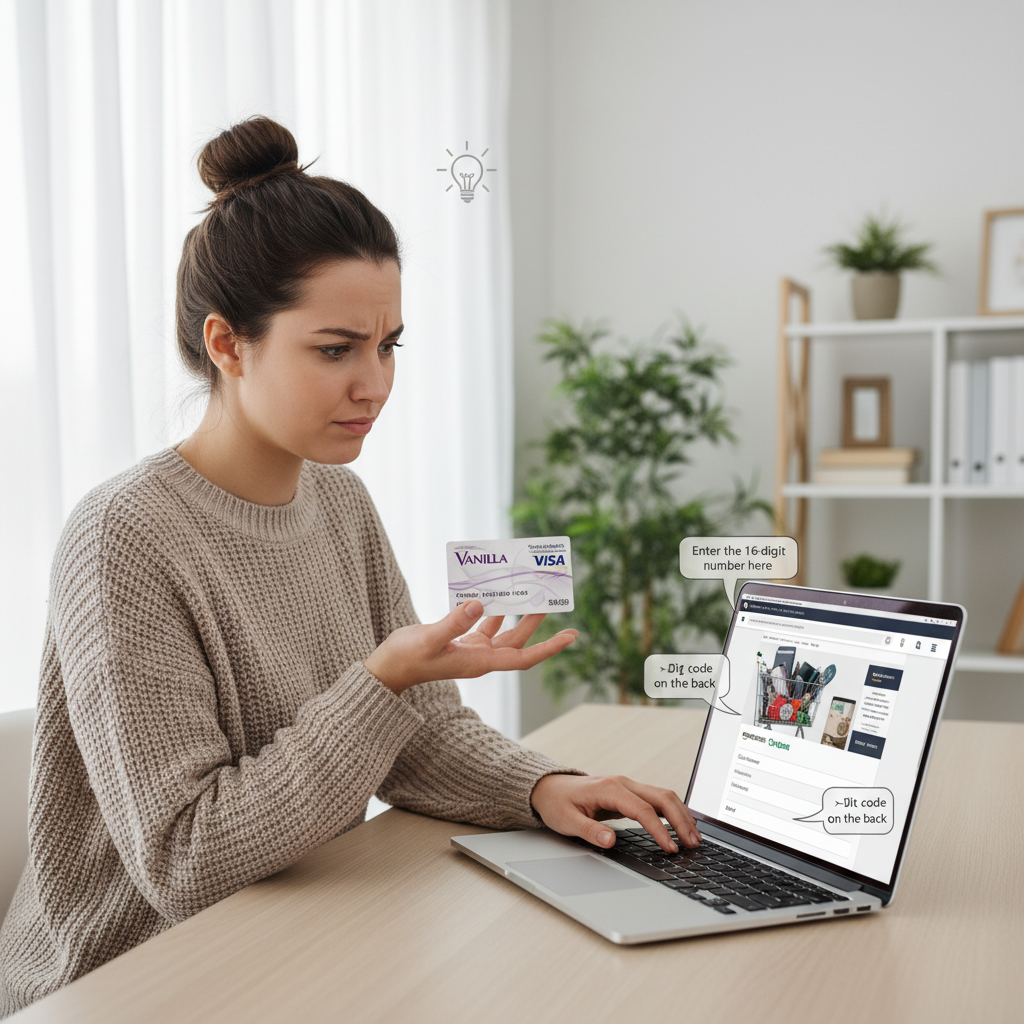
Step 1: Check Your Vanilla Gift Card Balance First
Before you try to use your Vanilla card on Amazon, find out exactly how much is on it. If your order total is even a few cents over your remaining balance, Amazon will likely decline the card.
You can check your balance by:
- Visiting the website on the back of the card (for example, for some cards it’s vanillagift.com, but check your card for the correct URL).
- Entering the card number, expiration date, and security code (CVV).
- Or calling the toll‑free number listed on the back of the card.
Write down or remember the exact balance (like $23.47, not just “about twenty bucks”).
Treat your Vanilla balance like gas in your car—if you don’t know how much you have, you’re going to stall at checkout.

Step 2: Decide How You Want To Use It on Amazon
You have two main ways to use a Vanilla gift card on Amazon:
- Use it as a regular credit/debit card at checkout (most common)
- Use it to buy an Amazon eGift Card (and then load that to your Amazon balance)
Let’s walk through both.
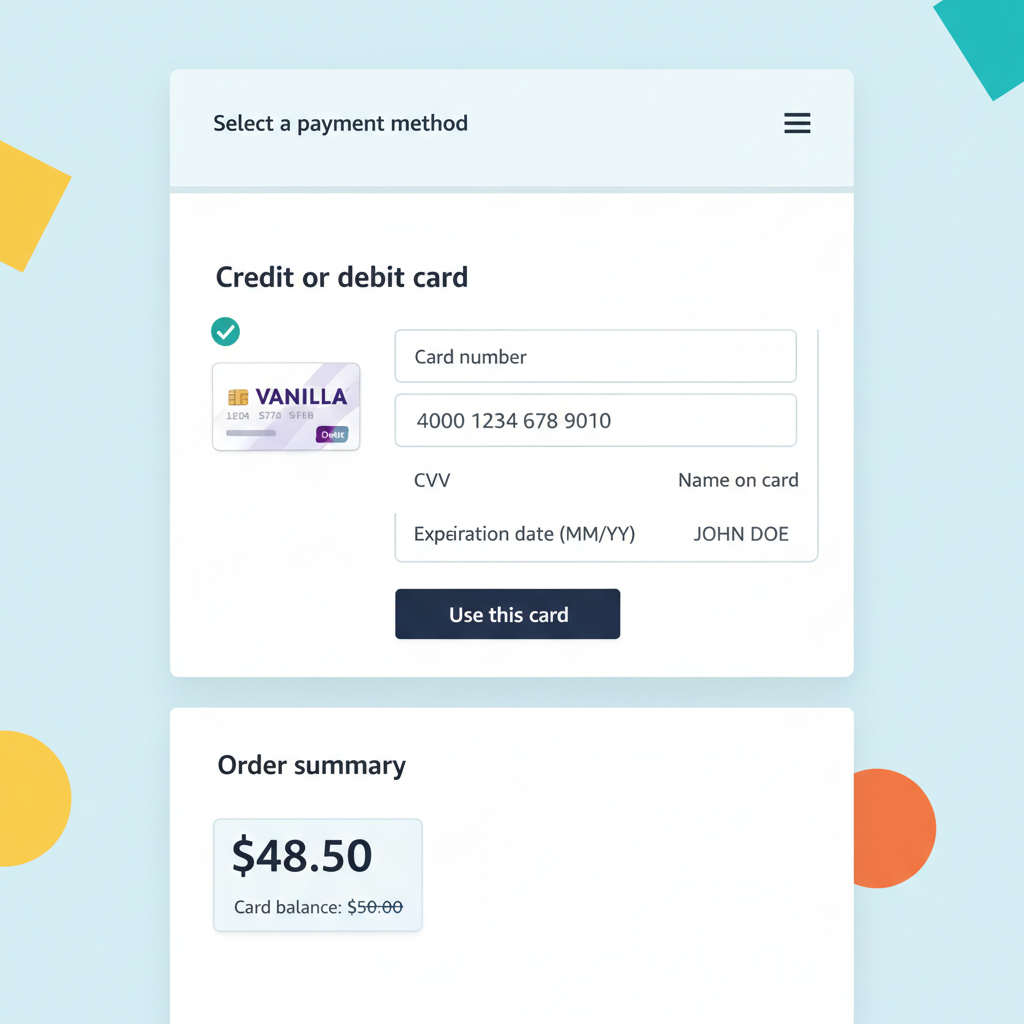
Option 1: Use Your Vanilla Card as a “Credit or Debit Card” at Checkout
This is the simplest approach, and it works as long as:
- Your Vanilla card has enough balance to cover the entire charge you’re putting on it, OR
- You do some manual splitting (explained in the next section).
How to add a Vanilla gift card at Amazon checkout
- Add items to your cart as usual on Amazon.
- Go to Checkout.
- Under Payment method, choose “Add a credit or debit card.”
- Enter the card number, expiration date, and CVV from your Vanilla Visa/Mastercard/Discover.
- For the name on card, you can usually put your own name (even though it’s a gift card). If the Vanilla card website lets you set a name and billing address, use those for extra safety.
- Save it and select it as the payment method.
Important: the total must not exceed the Vanilla balance
If your Amazon order total (including tax and shipping) is more than your Vanilla balance, Amazon may decline the card altogether. Amazon doesn’t automatically split a single order total across multiple credit cards.
Workaround:
- Adjust your cart so the total is less than or equal to the balance on your Vanilla card. Think: if your balance is $25, aim for something like $24–$24.50 to leave room for tax.
On Amazon, a Vanilla card acts like a small debit card with a strict limit—don’t try to charge more than it has.
Option 2: Turn Your Vanilla Gift Card Into an Amazon Gift Card Balance
If you want less hassle in the future, you can use your Vanilla card to buy an Amazon eGift Card and send it to yourself.
Why this is smart:
- Amazon gift card balance is easy to use; it always applies automatically.
- You avoid issues with partial balances on the Vanilla card.
- You can combine balances from multiple Vanilla cards into one Amazon balance over time.
How to convert Vanilla → Amazon balance
- Go to “Gift Cards” on Amazon.
- Choose “eGift Card” (or “Email” delivery).
- Set the amount to something slightly less than the balance on your Vanilla card.
- Example: Your Vanilla card has $50.00.
- Buy an Amazon eGift card for $49.00–$49.50 to leave room if there are any small authorization holds.
- In “To”, enter your own email address (the one linked to your Amazon account is ideal).
- At checkout, select your Vanilla card as the payment method.
- Complete the purchase.
- When the email arrives, redeem the Amazon eGift card to your account.
Now your money lives inside Amazon as gift card balance. From here on out, checkout is painless.
If you’re going to shop on Amazon more than once, converting Vanilla → Amazon balance is usually the least annoying long‑term option.
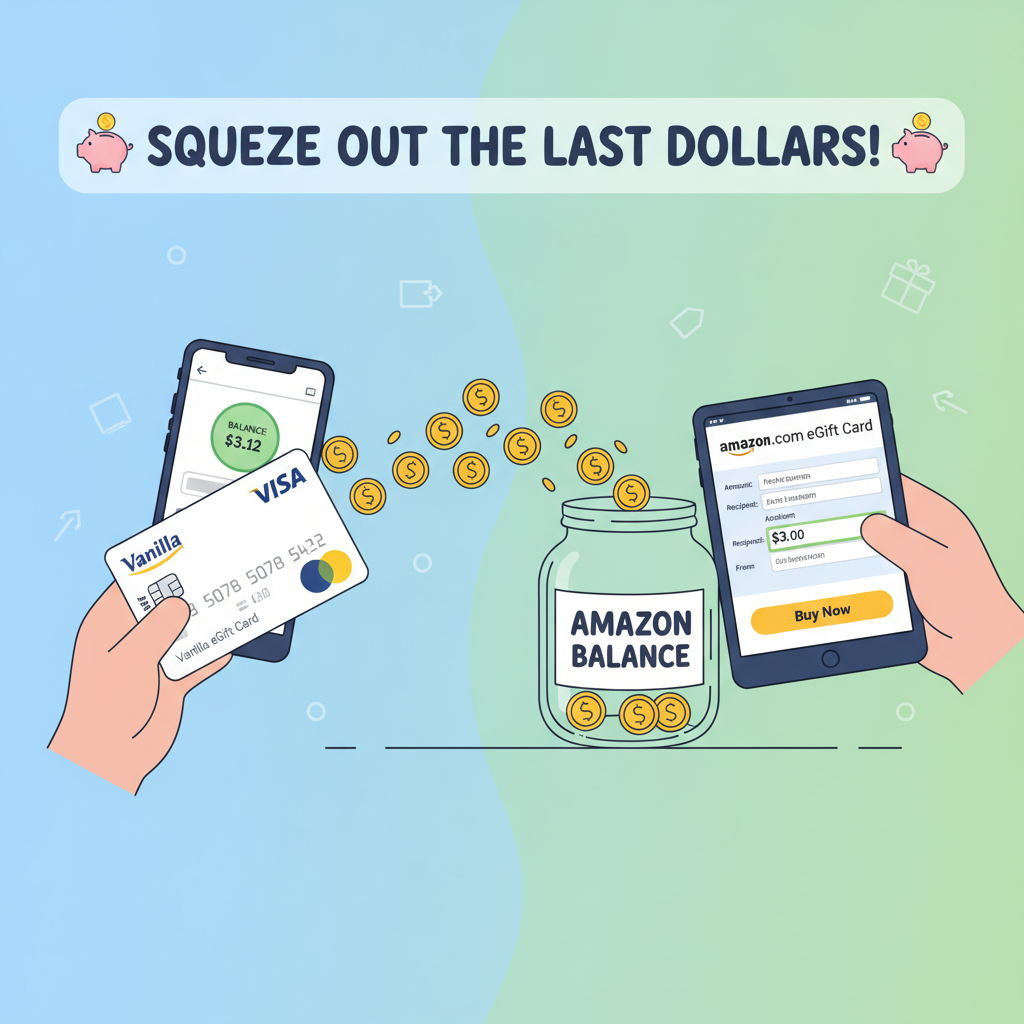
“My Vanilla Card Has a Weird Remaining Balance” (How To Use the Last Few Dollars)
The most annoying part of a Vanilla gift card is ending up with random leftovers like $1.83 that never get used.
Here are a few ways to fix that, specifically for Amazon:
Method 1: Buy a small Amazon eGift card for the leftover amount
- Check the exact remaining balance on your Vanilla card again.
- Go to Amazon’s Gift Cards → eGift Card section.
- Set the amount to slightly less than the remaining balance.
- If the balance is $3.12, you might try an eGift for $3.00.
- Pay with the Vanilla card, send to your own email.
- Redeem the eGift card to your Amazon account.
You might still have a few cents left on the Vanilla card—but you’ll at least rescue most of the money.
Method 2: Use it on a low-price Amazon purchase
You can:
- Put a cheap item in your cart (like $1.99–$3.99).
- At checkout, pay with the Vanilla card for that entire order.
If the order total is less than or equal to the remaining balance, it should go through and clean out most of the card.
The game here is “get close without going over.” Think The Price Is Right, but with tiny leftover balances.
How To Split Payment Between a Vanilla Card and Another Card on Amazon
This part trips a lot of people up.
Amazon generally doesn’t let you split one order across two credit/debit cards during a single transaction. You can, however, combine:
- Gift card balance + one credit/debit card, or
- Put part of the order on one payment method by buying a gift card first.
Practical split-payment workaround using Vanilla
Let’s say:
- Your cart total is $60.
- Your Vanilla card balance is $25.
To “split” this across your Vanilla card and your main credit/debit card:
- Use the Vanilla card to buy a $25 Amazon eGift card (or maybe $24.50 to be safe).
- Redeem that to your Amazon account.
- Now go back to your cart and check out.
- Amazon will apply your $24.50–$25 Amazon gift card balance first.
- The remaining amount (about $35) will be charged to your regular card.
Boom—effective split payment.
You can’t split a single Amazon order across two cards directly, but you can split across gift card balance + one card.
Do I Need To Register an Address for My Vanilla Gift Card?
Some Vanilla and other prepaid gift cards work more smoothly online if you register a billing address.
Here’s what to do if your card allows it:
- Go to the website on the back of your Vanilla card.
- Look for an option like “Register Card” or “Update Billing Information.”
- Add your name and address (use the same address you use on Amazon).
Then, when you add the card on Amazon as a payment method, make sure the billing address matches what you registered on the Vanilla card site.
Not all Vanilla-branded cards require this, but if Amazon keeps declining the card, this is one of the first fixes to try.
When in doubt, make the billing address on the Vanilla site and on Amazon match exactly.
Common Problems (and How To Fix Them)
1. “Amazon keeps declining my Vanilla card.”
Likely causes:
- The order total is higher than your Vanilla balance (including tax/shipping).
- There’s a temporary authorization hold reducing your available balance slightly.
- The billing address doesn’t match what’s on file for the card (if applicable).
Fixes:
- Try a smaller purchase or buy an Amazon eGift card for slightly less than the balance.
- Double‑check the card number, expiration, and CVV.
- If you registered a billing address for the card, make sure it matches on Amazon.
2. “Amazon only let me use part of the balance” / “Where did the rest go?”
Sometimes you’ll see a pending charge or a small test authorization. That can temporarily hold a bit of your balance.
- Check your balance again after a day or so.
- If the pending charge drops off, your available balance might go back up slightly.
If you’re stuck with weird pennies left, go back to the “use the last few dollars” methods above.
3. “Can I store my Vanilla card in my Amazon Wallet for later?”
Yes, you can add it like any other card and keep it on file.
But:
- Once the balance is fully used, the card won’t work anymore.
- If you forget there’s only a small balance left and try to use it for a big order, it’ll likely get declined.
This is why many people prefer the Vanilla → Amazon gift card path and then just delete the card from their wallet afterward.
You can save a Vanilla card in your wallet, but it’s easier to convert it and move on.
Real-Life Examples So You Can See It Work
Example 1: The $100 Vanilla Gift Card
- You receive a $100 Vanilla Visa gift card for the holidays.
- You want to buy $93 worth of stuff on Amazon.
- At checkout, you:
- Add the Vanilla as a credit/debit card.
- Make sure your order total (with tax) is under $100.
- Transaction goes through. You now have around $7 left on the card.
- Later, you:
- Use the remaining ~$7 to buy a $6.50 Amazon eGift Card, send to yourself, and redeem.
No leftover money, no pain.
Example 2: The Almost-Empty Vanilla Card
- You have a Vanilla card with $4.27 left.
- You don’t want to throw it away (understandable).
- You go to Amazon → Gift Cards → eGift Card.
- You buy a $4.00 eGift card using the Vanilla.
- You redeem it to your account; now your Amazon balance grows by $4.
- You recycle the physical card—it’s basically done.
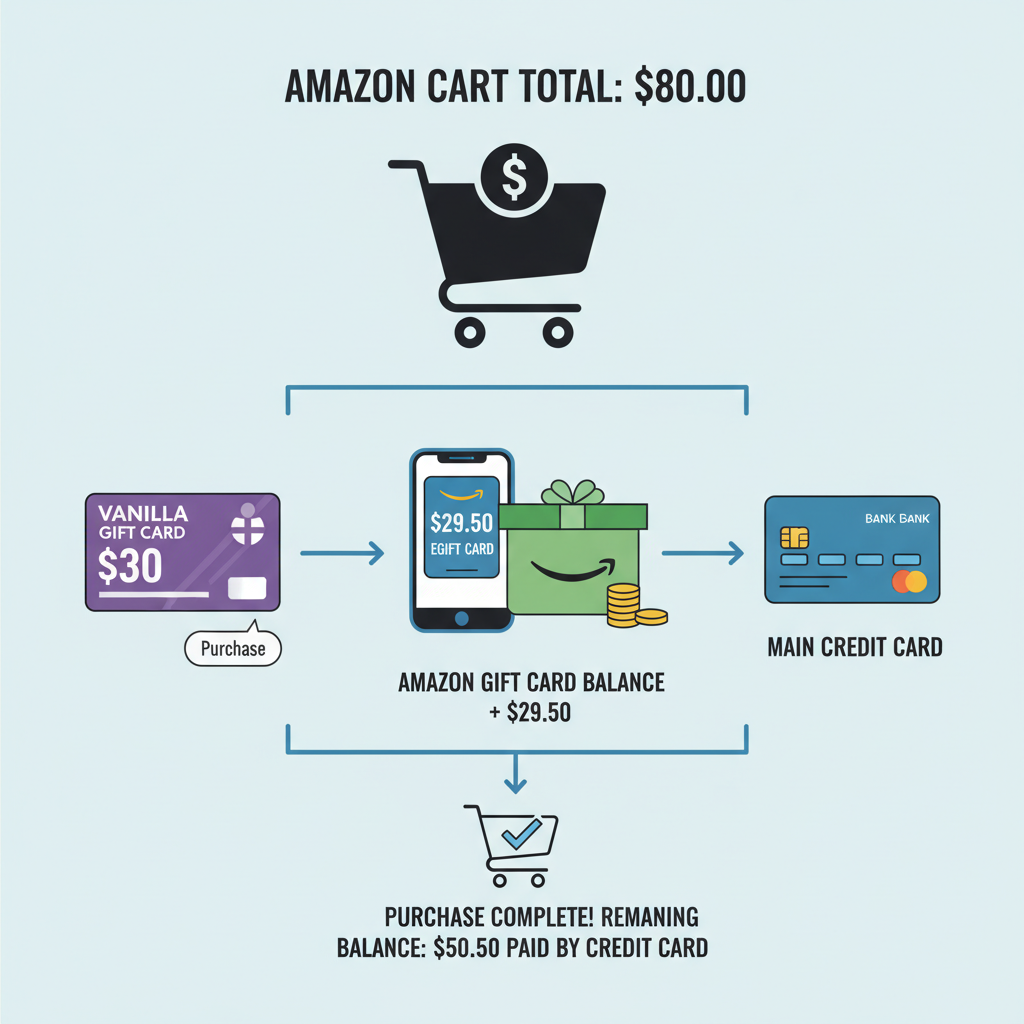
Example 3: Splitting a Big Purchase
- Your Amazon cart is $80.
- Your Vanilla card is $30.
- You:
- Use the Vanilla card to buy a $29.50 Amazon eGift card.
- Redeem it to your Amazon account.
- Go back to your cart and check out.
- Amazon automatically uses your $29.50 gift card balance first.
- The remaining $50.50 goes to your main debit/credit card.
Takeaway: With one tiny extra step (buying an eGift card), Vanilla cards can cleanly help pay for bigger orders.
Final Tips To Make Your Vanilla Card Play Nice With Amazon
To recap, here’s your cheat sheet:
- Check the balance first on the Vanilla card’s website or phone number.
- Use the card as a credit/debit card at checkout, not as an “Amazon gift card.”
- Keep your order total at or below the card balance when using it directly.
- For more flexibility, use the Vanilla card to buy an Amazon eGift card and load that to your Amazon balance.
- To use tiny leftovers, buy small eGift cards for slightly less than the remaining amount.
- If it keeps getting declined, double‑check address registration, balance, and card info.
Do those things, and your Vanilla gift card will stop being that annoying piece of plastic in your wallet and start being… well, stuff on your doorstep.
Happy spending.