How To Print A Receipt From Amazon
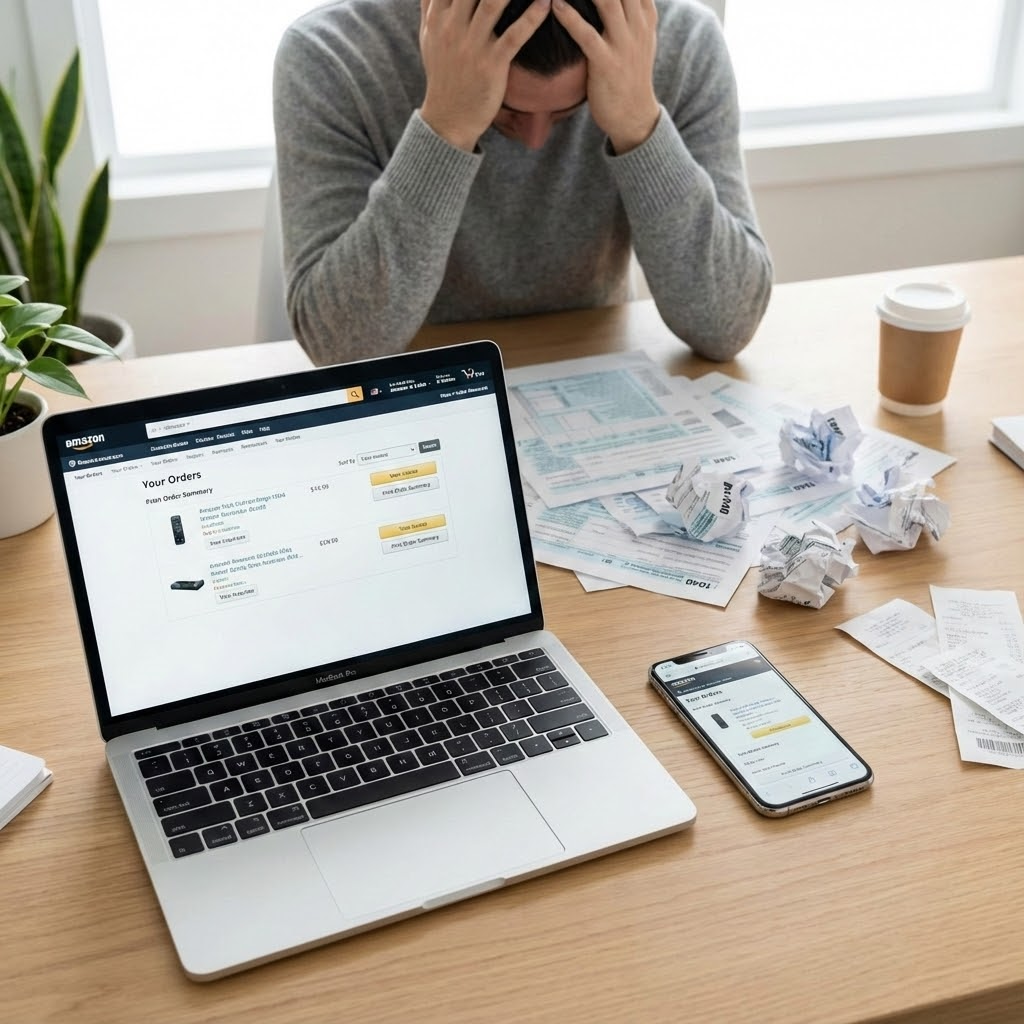
You’d think finding an Amazon receipt would be easy.
But then tax season hits, your company asks for proof of purchase, or you just need that warranty invoice…and suddenly you’re 27 clicks deep wondering where the “Print Receipt” button went.
Let’s fix that.
This guide walks you step‑by‑step through how to print a receipt from Amazon on desktop and mobile, plus how to get tax invoices, gift receipts, and business receipts without losing your mind.
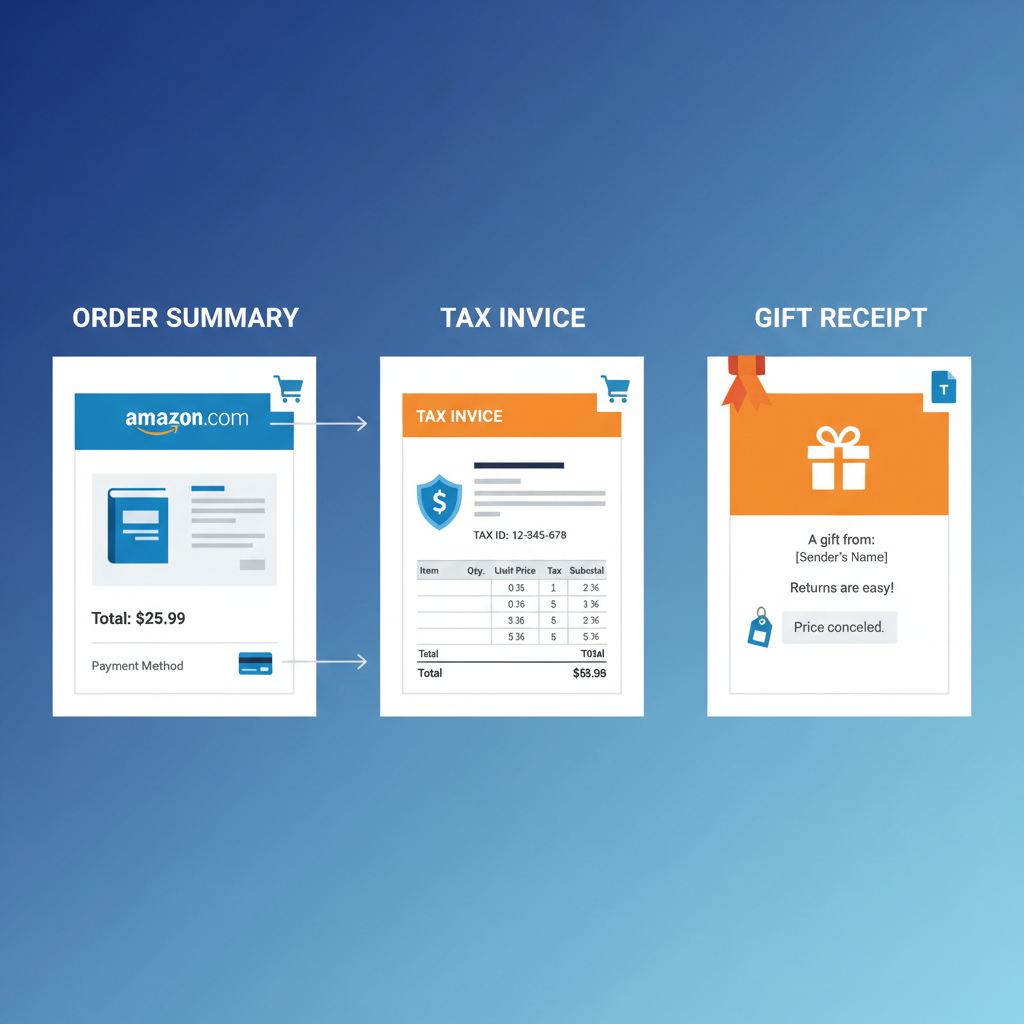
First: Amazon “receipt” vs “invoice” (what you actually need)
Amazon uses a few different terms that confuse everyone:
- Order summary / order details – shows what you bought, how much, and how you paid. Works as a basic receipt for many situations.
- Invoice – more formal document with seller details, item prices, tax, and total. Often needed for reimbursements, tax records, or warranties.
- Gift receipt – hides prices, shows the item and allows returns.
Most of the time when people say “print an Amazon receipt,” they actually mean one of these:
- A printable invoice for taxes or accounting
- A payment receipt to submit as an expense
- A gift receipt to include in a present
How to print a receipt from Amazon on desktop (fastest way)
These steps work in a web browser on a laptop or desktop.
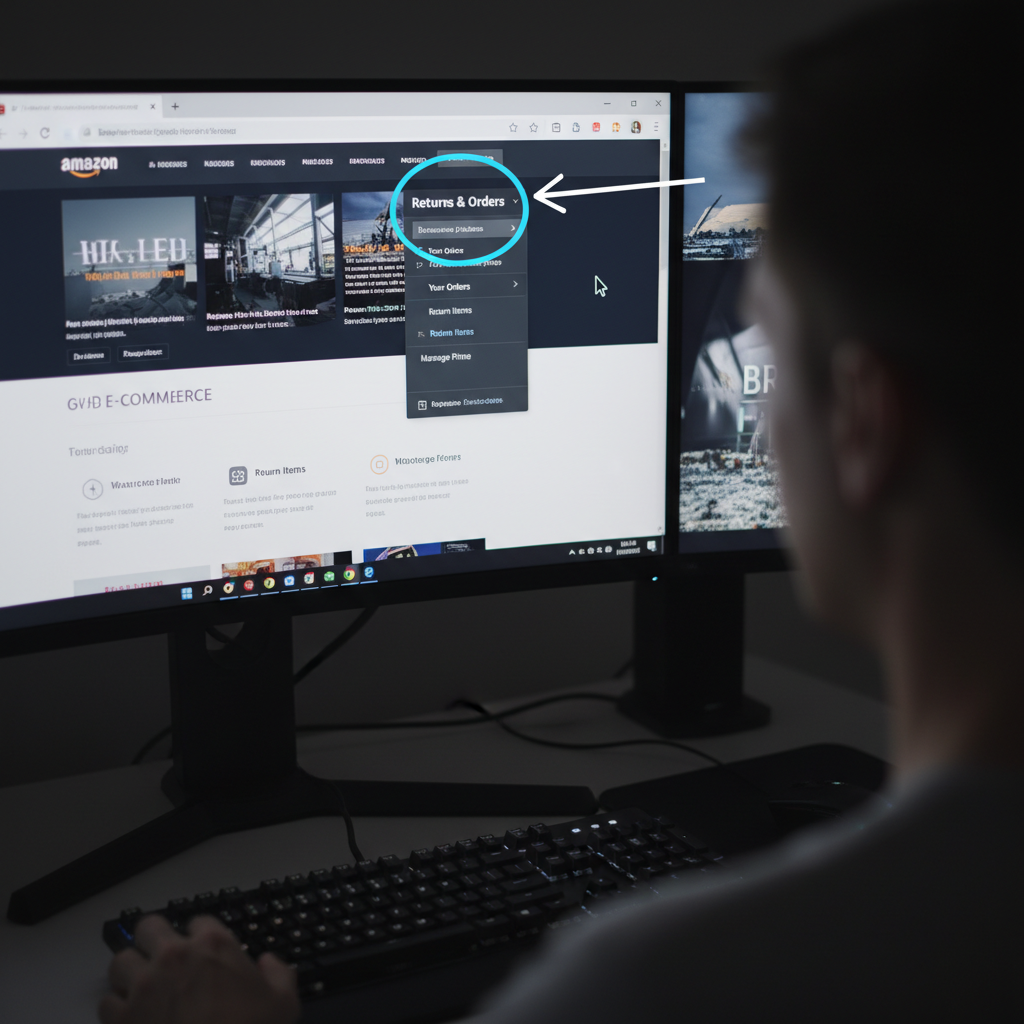
Step 1: Go to “Your Orders”
- Open a browser and sign in to your Amazon account.
- In the top-right corner, hover over or click “Returns & Orders”.
- You’ll land on the Your Orders page, which lists all your recent purchases.
Pro tip: If you have multiple Amazon accounts (personal, work, family), double‑check you’re in the right one before you panic because “the order is gone.”
Step 2: Find the order you need a receipt for
On the Your Orders page, you can:
- Use the search bar (e.g., type “monitor,” “headphones,” etc.).
- Filter by date range from the dropdown (last 30 days, 2024, 2023, etc.).
Once you find the correct order, look at the options under the item.
Step 3: Click “Invoice”
Under the item (or to the right of the order), look for:
- “Invoice” or
- “Order details” or
- A three-dot (⋯) menu with more options
Most desktop accounts in the U.S. will show a link like:
- Invoice → then options such as “View invoice” or “Printable invoice”
Click “View invoice” or “Invoice”.
This opens a detailed invoice page with:
- Order date and order number
- Billing and shipping address
- Itemized list of products
- Price, tax, shipping, and total
Step 4: Print or save as PDF
Once the invoice is open:
- Press Ctrl + P (Windows) or Cmd + P (Mac), or click your browser’s menu and choose Print.
- In the printer dialog:
- Choose your actual printer or
- Select “Save as PDF” if you just need a digital copy.
- Click Print or Save.
Quick desktop recap
Your Orders → find purchase → Invoice → View/Printable invoice → print/save.
How to print an Amazon receipt from the mobile app
The Amazon app doesn’t always have a super obvious “print receipt” button, but you can still get there.
Step 1: Open your orders in the app
- Open the Amazon app (iOS or Android).
- Tap the profile icon (or the three horizontal lines ☰ depending on your version).
- Tap “Your Orders.”
Step 2: Select the order
Scroll or search for the order you want.
- Tap “Filter” or date filters if you’re looking for older orders.
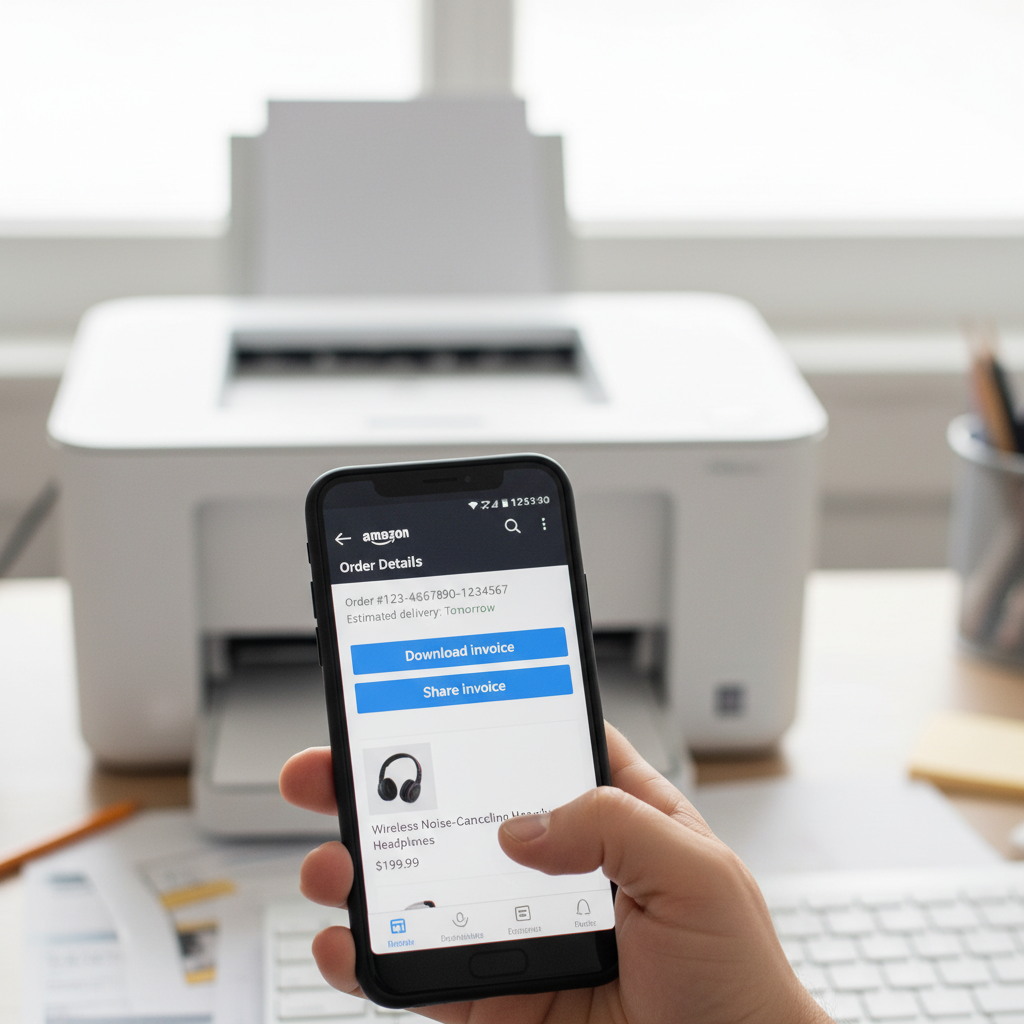
- Tap on the order to open the Order Details screen.
Step 3: Look for the invoice option
On the order details page, look for one of the following (it can vary by region and seller type):
- “Download invoice”
- “Share invoice”
- A “View order details” link that then leads to invoice options
If you see “Share invoice”:
- Tap it, and choose Mail, Gmail, Files, or another app.
- Email it to yourself, then open it on a computer and print.
If you see “Download invoice”:
- It will download a PDF to your phone.
- Open the PDF and tap Share → Print (if you have a printer set up) or share it to email/cloud.
Step 4: Print from your phone or computer
- From phone: Use AirPrint (iOS) or Mopria/Print Service (Android) if your printer supports mobile printing.
- From computer: Email the PDF to yourself, open it on your laptop/desktop, and print normally.

How to print a gift receipt on Amazon
Giving a gift and want the recipient to be able to return it, but without seeing the price? That’s a gift receipt.
If you haven’t ordered the gift yet
- Add the item(s) to your cart.
- During checkout, look for “This order contains a gift” and check the box.
- On the gift options page, there’s usually an option like:
- “Email the recipient a gift receipt” or
- “Include a gift receipt” in the package.
In many cases, Amazon will include the gift receipt in the box, or the recipient can access it digitally.
If you already placed the order
- Go to Your Orders.
- Find the gift order.
- Look for “Share gift receipt” or “View gift receipt.”
- You can:
- Copy a link to the gift receipt.
- Email the link to the recipient.
- Open it yourself and print from your browser.
Note: Gift receipts don’t show prices but still allow returns or exchanges.
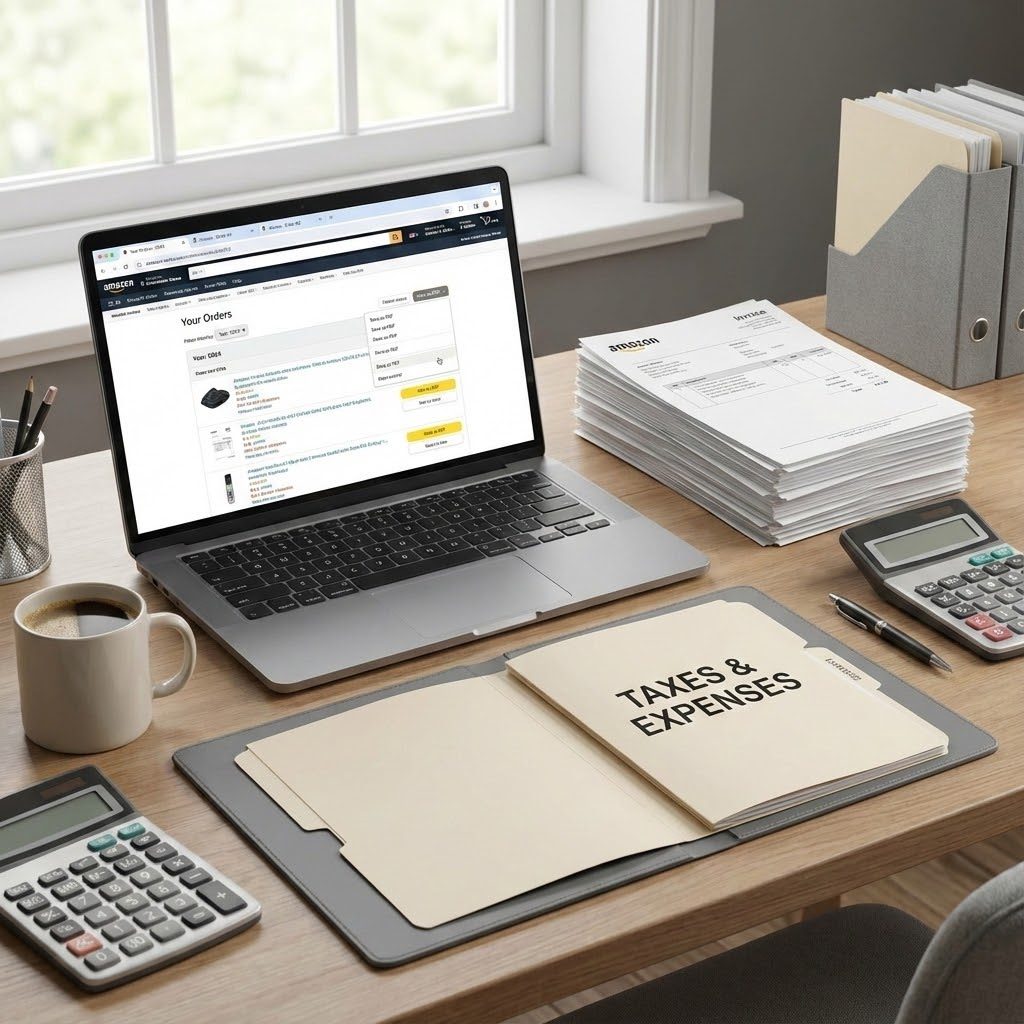
Need a receipt for business or taxes? Use Amazon Business or tax invoices
If you’re submitting expenses or doing bookkeeping, you usually need a proper invoice with:
- Seller info
- Tax breakdown
- Itemized line items
Here are your main options.
Option 1: Regular Amazon account (most people)
For many standard purchases shipped and sold by Amazon, the Invoice link in Your Orders is enough as a receipt.
Steps:
- Your Orders → Choose order.
- Click Invoice → View/Printable invoice.
- Print or save as PDF.
Double-check that the invoice shows:
- Your name or business name
- Purchase date
- Tax and total amount
If your business requires a certain format, save it as PDF and attach it to your expense software (Expensify, Concur, etc.).
Option 2: Amazon Business account (if you buy for work a lot)
If you frequently buy for work, a free Amazon Business account can help. It gives you:
- Easier access to tax invoices
- Ability to add your company name and tax ID
- Better reporting and order exports
Once set up, invoices are still found in Your Orders, but they’ll include your business details.
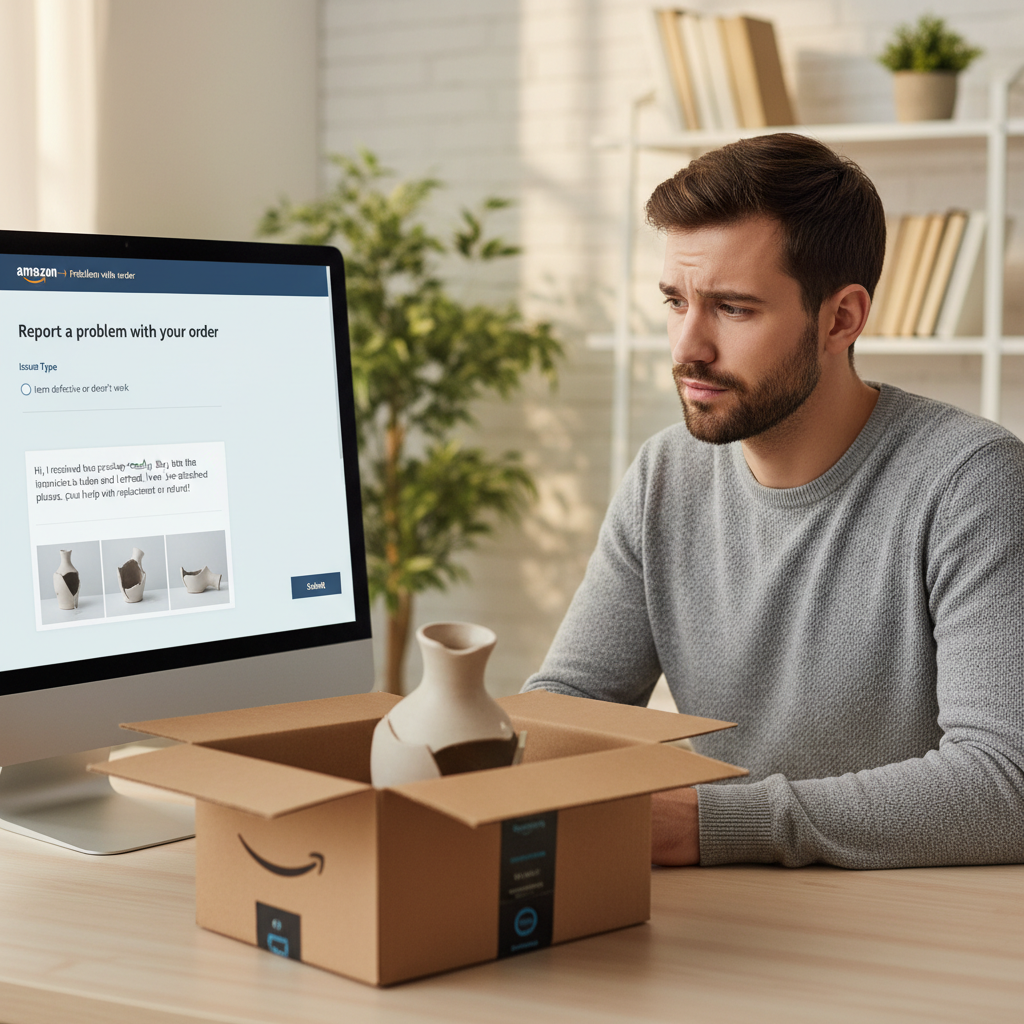
What if there’s no “Invoice” button at all?
Sometimes you open an order and…nothing. No invoice. No download option. Just vibes.
Here are a few common reasons and fixes:
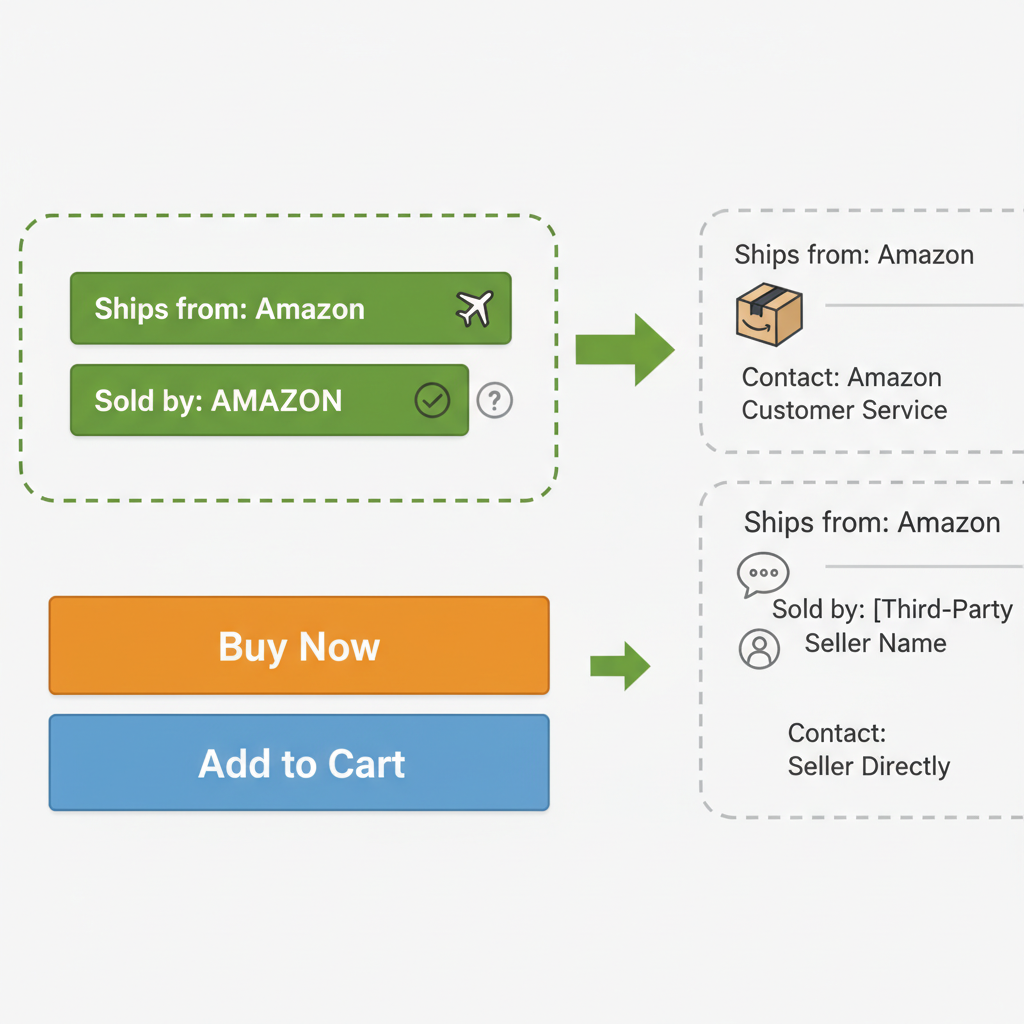
1. It’s a third‑party marketplace seller
Some marketplace sellers don’t automatically upload an invoice.
What you can do:
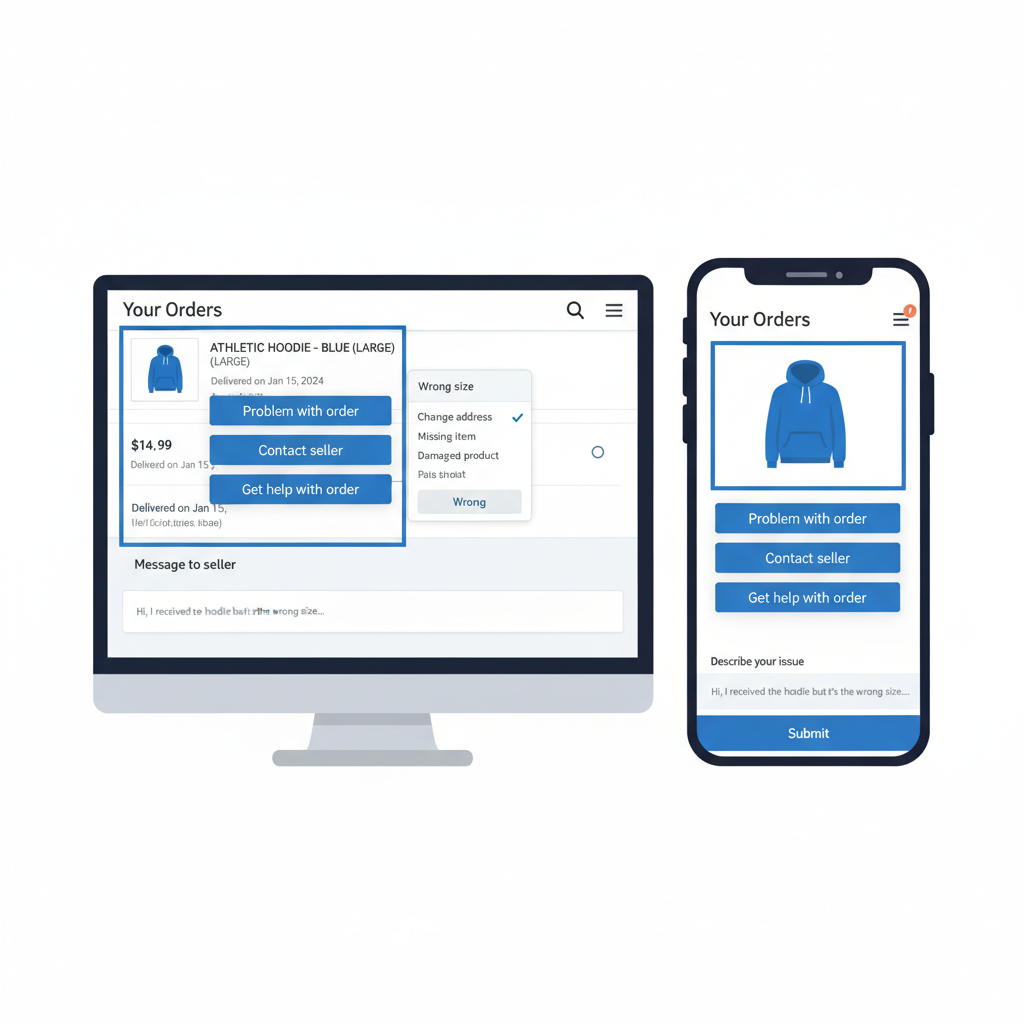
- Go to Your Orders.
- Find the order and click “Problem with order” or “Get help with order.”
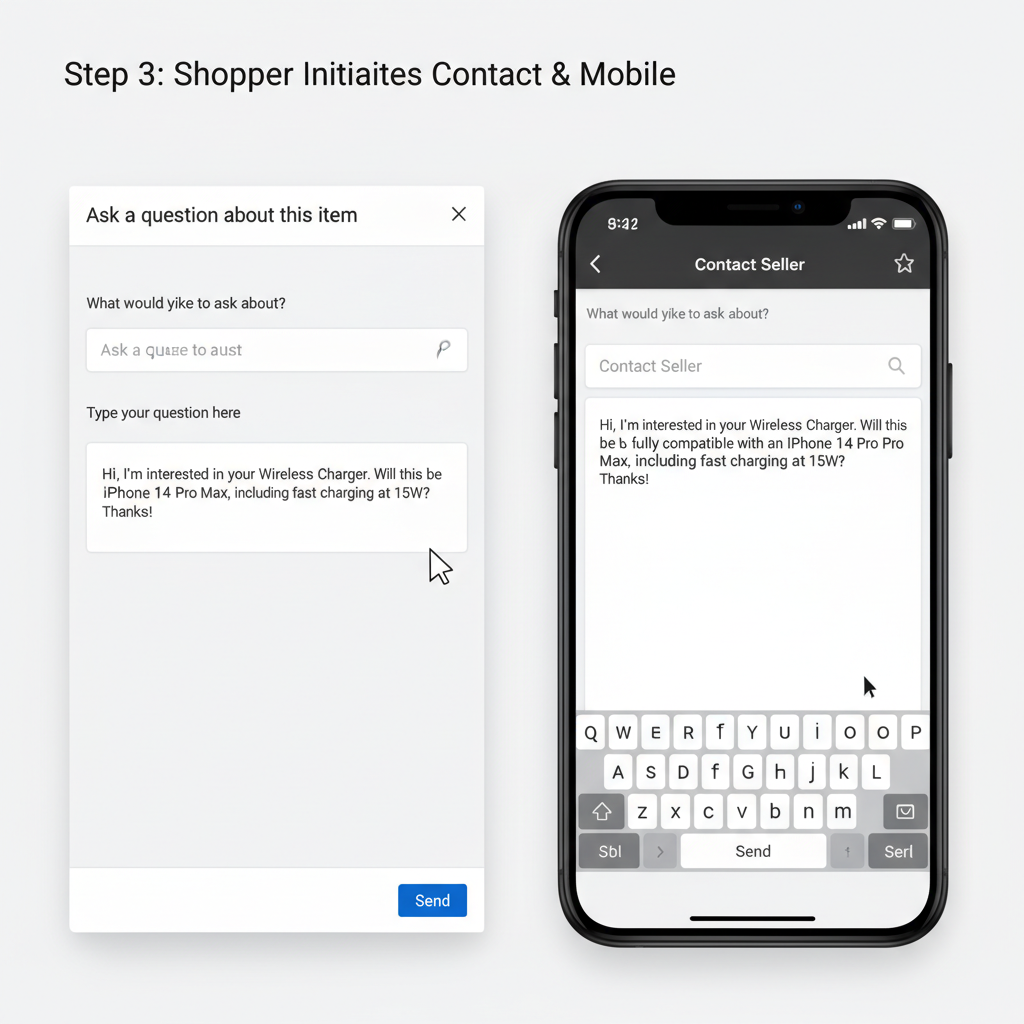
- Choose an option closest to “I need an invoice/receipt” or contact the seller directly.
- Ask them to send a PDF invoice with:
- Seller name and address
- Item details
- Tax breakdown (if applicable)
2. It’s a digital product (eBook, app, video, subscription)
Digital orders often live in a slightly different place.
Try this:
- Go to Your Account → look for “Your Payments” or “Digital orders” / “Digital content and devices.””
- Open the relevant digital store (Kindle, Appstore, etc.).
- Look for “View purchase history” or “Order details.”
- From there, many digital orders will have a “View receipt” or “Invoice” option.
If nothing else works, you can:
- Screenshot the order details page
- Print that screenshot or add it to a PDF
Not as clean, but often acceptable for simple reimbursement.
3. You ordered as a guest or through another country site
If you ever checked out without logging in or used a different Amazon region (like Amazon.ca or Amazon.co.uk), the order might be on that site/account.
Try:
- Logging into the correct regional Amazon site.
- Checking the email inbox used for that purchase for an order confirmation email. In many cases, that email works as a receipt.
How to print multiple Amazon receipts at once (batch-friendly options)
If you’re doing expense reports or accounting, you might need many receipts at once.
While Amazon doesn’t offer a perfect “export all invoices as PDFs” button, you can make this easier:
1. Filter orders by date and open invoices in new tabs
On desktop:
- Go to Your Orders.
- Filter to “Last 30 days”, “This year”, or a specific year.
- For each relevant order, Ctrl/Cmd + Click the Invoice link to open it in a new tab.
- Once you have them all open, print or save each PDF.
2. Use your browser’s “Save to PDF” feature
Rather than physically printing each invoice:
- Set Destination to “Save as PDF” in the print dialog.
- Organize them in a folder by month or category.
This makes it much easier to:
- Upload to accounting software
- Share with a bookkeeper or tax pro
Quick troubleshooting FAQ
Can I print a receipt for an Amazon order someone else placed?
If you don’t have access to their account, not directly.
Options:
- Ask them to download the invoice from their account and send it.
- If it’s a shared family account, ask them to log you in or forward the email receipt.
Is the email order confirmation enough as a receipt?
For casual purposes (personal records, basic proof of purchase), often yes.
For business, taxes, or warranties, it’s safer to use the official invoice from Your Orders → Invoice.
Will Amazon mail me a paper receipt?
Generally, no. Amazon mostly relies on digital order history and invoices.
If you absolutely need a paper copy, your best bet is:
- Open the invoice online
- Print it on your own printer or at a print shop
Summary: Your simple Amazon receipt checklist
When you need to print a receipt from Amazon, follow this mental checklist:
- Go to Your Orders.
- Find the correct order. Use search and date filters.
- Click Invoice. Look for “Invoice,” “View invoice,” or “Download invoice.”
- Print or Save as PDF. Use your browser or device print options.
- No invoice? Contact the seller, check digital orders, or find the email confirmation.
Do this once or twice, and the next time someone says, “Can you send me the Amazon receipt?” you’ll have it in their inbox before they finish the sentence.
And hey, that’s one less tiny life annoyance to deal with.