Finding Amazon’s Doppler Campus Building
A plain-English guide to decoding Amazon’s Doppler tower, its exact address, and how not to show up at the wrong building on 7th Ave.
If you’ve ever tried to meet someone at “the Amazon Doppler building” and realized there are about 47 different Amazon towers in downtown Seattle… welcome to the club.
Between Doppler, Day 1, re:Invent, the Spheres, and a zoo of codenamed buildings (Otter, Blackfoot, Low Flying Hawk, etc.), just figuring out where to go can feel like passing a small systems design interview.
This guide is your plain‑English walkthrough to the Amazon Doppler campus building address, how it fits into the broader HQ, and what to know before you show up.
What Is the Amazon Doppler Building?
Doppler is one of Amazon’s flagship headquarters towers in Seattle. It’s also known as Amazon Tower I and internally as Rufus 2.0 Block 14.
It’s a 37‑story, 524‑foot-tall office tower in the Denny Triangle neighborhood of downtown Seattle and serves as a core part of Amazon’s Puget Sound headquarters campus.
The fun bit: the name “Doppler” comes from the internal codename for the original Amazon Echo device. So yes, you are technically meeting at a building named after a smart speaker’s codename.
Quick takeaway: When people say “meet me at HQ,” Doppler is one of the three big towers they probably mean.
The Exact Address of Amazon Doppler
Let’s start with the thing you probably Googled:
Amazon – Doppler
Address: 2021 7th Ave, Seattle, WA 98121, USA
Multiple sources list this same address for the Doppler building and for directions/parking tools like Waze and campusbuilding.com.
In other words, if you plug “2021 7th Ave, Seattle, WA 98121” into your GPS, you’re headed to the right place.
Nearby reference points
- Located in Denny Triangle, just north of the traditional downtown core.
- Sits near the intersection of 7th Avenue and Westlake Avenue.
- A short walk from the Amazon Spheres and other HQ towers like Day 1 and re:Invent.
Quick takeaway: If the address in your calendar isn’t 2021 7th Ave, double‑check the meeting invite; you might be headed to Day 1 or re:Invent instead.
How Doppler Fits Into the Amazon Seattle Campus
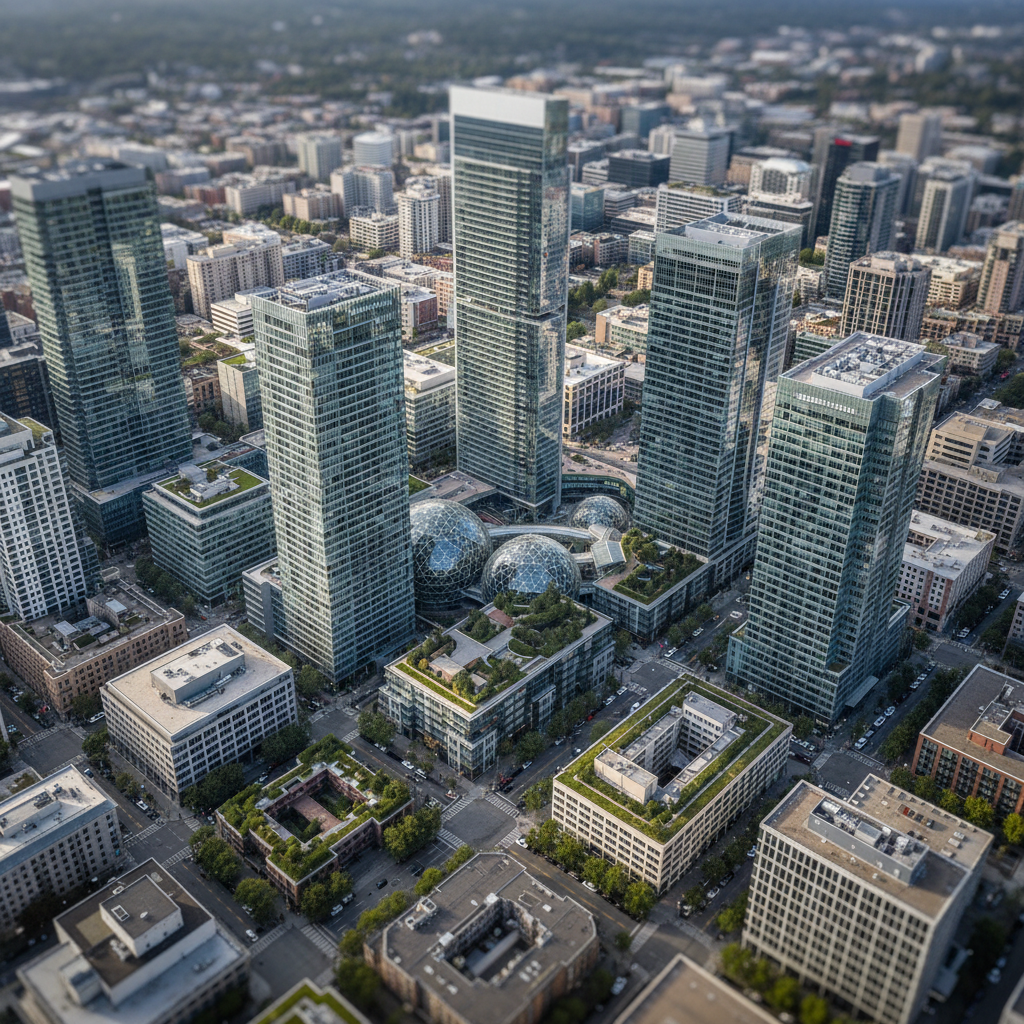
Amazon’s Seattle HQ isn’t one building; it’s a tight cluster of towers and mid‑rises spread across the Denny Triangle and South Lake Union areas.
At the heart of the Denny Triangle campus, you’ll find three primary high‑rises:
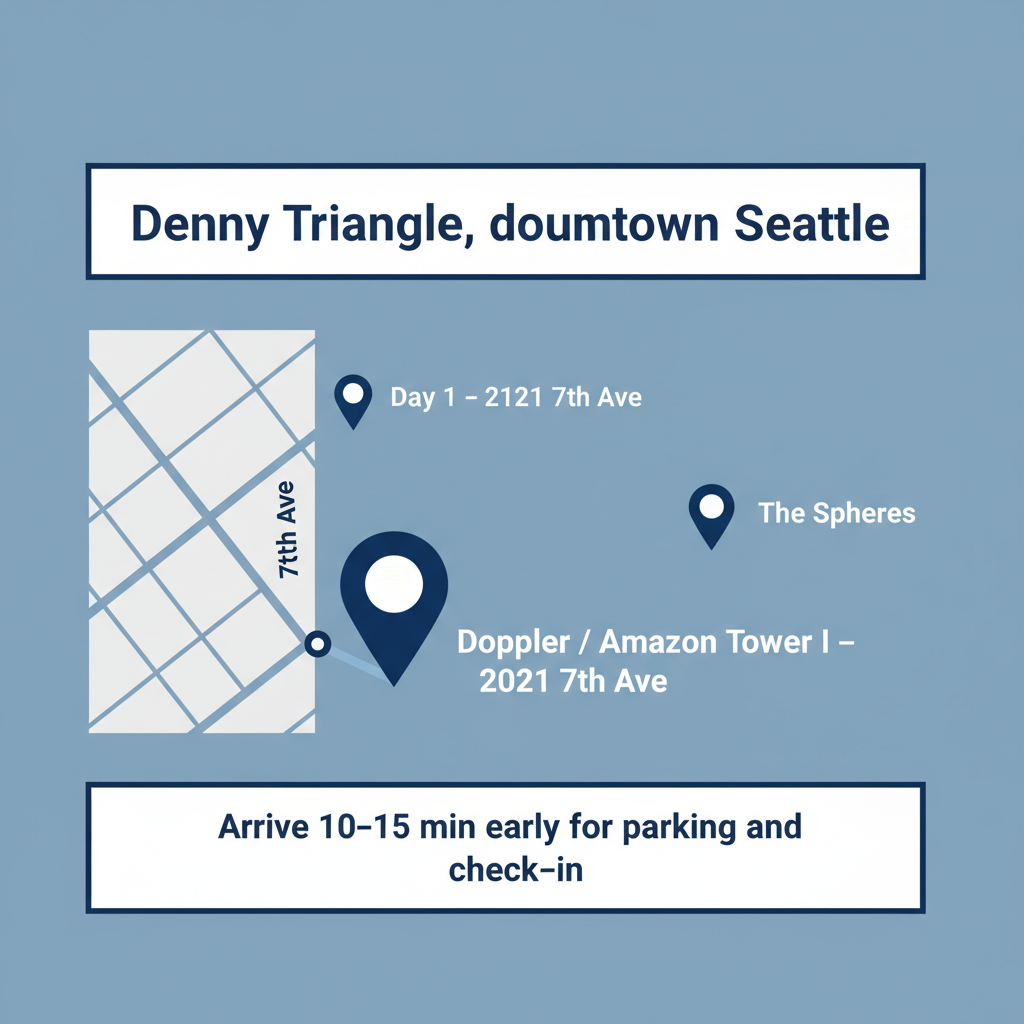
- Doppler (Amazon Tower I) – 2021 7th Ave
- Day 1 (Amazon Tower II) – 2121 7th Ave
- re:Invent (Amazon Tower III) – another tall tower just across the street
Right next door you also have:
- Amazon Spheres – the iconic glass domes at 2111 7th Ave, home to 40,000+ plants and some very happy ferns.
Think of Doppler as one corner of a tight cluster:
- Step outside Doppler, and you’re within a few minutes’ walk of Day 1 and the Spheres.
- The area is filled with Amazon‑connected mid‑rise buildings with codenames like Otter (2301 5th Ave), Blackfoot (1918 8th Ave), Alexandria (1800 9th Ave), and Low Flying Hawk (1812 Boren Ave).
Quick takeaway: Doppler isn’t an isolated office tower; it’s part of a dense mini‑city of Amazon buildings. Plan an extra 5–10 minutes if you’re new to the area—your brain will want time to process the sheer number of Amazon logos.
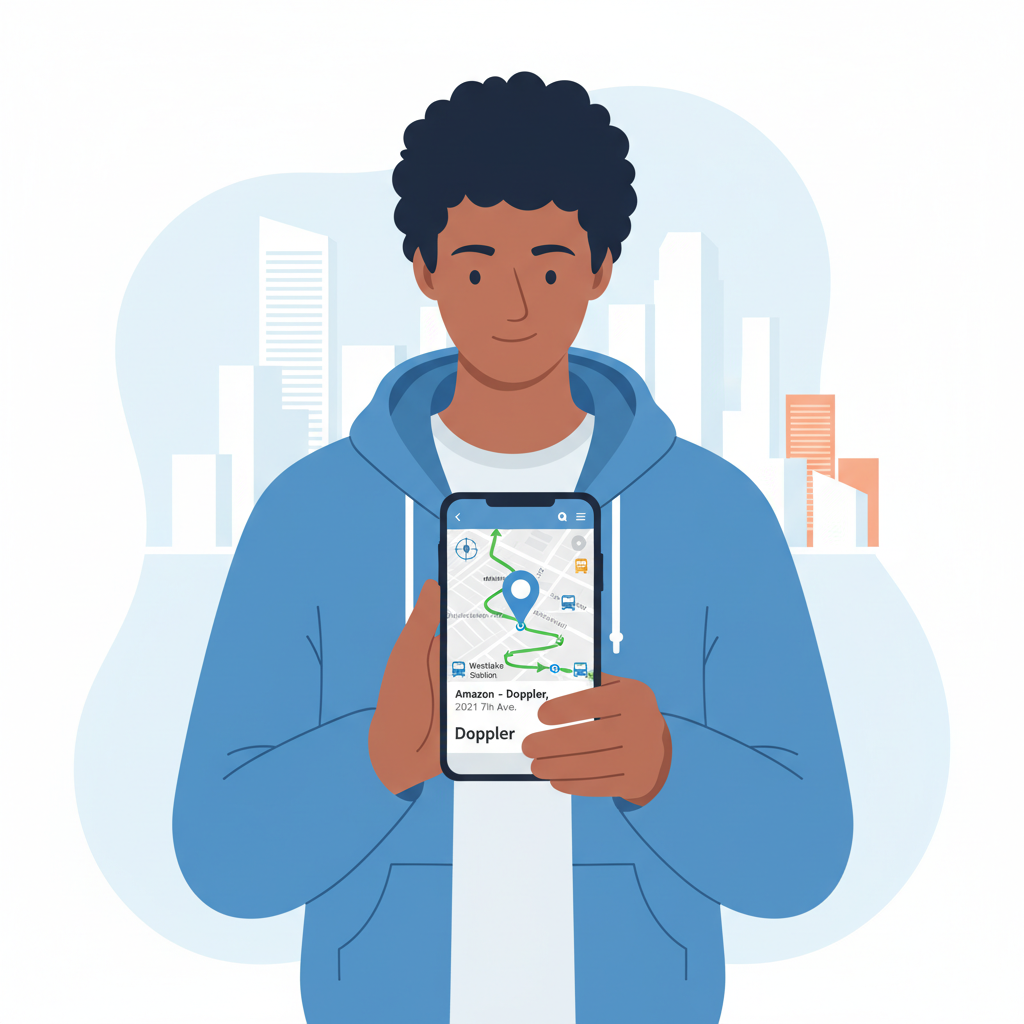
Getting to the Doppler Building (Without Getting Lost)
1. Using Maps / GPS
If you’re using your phone (you are, obviously):
- Enter “Amazon Doppler” or “2021 7th Ave, Seattle, WA 98121”.
- Navigation apps like Google Maps, Apple Maps, and Waze recognize it and will route you directly to the correct entrance area.
Make sure you don’t accidentally tap Day 1 or re:Invent—their names and addresses are similar enough to trip you up if you’re not paying attention.
2. By Transit
Doppler is walkable from multiple downtown transit options:
- Light rail (Westlake Station): A short walk away via surface streets. Once you’re out, walk north toward 7th Ave.
- Bus routes: Several downtown routes stop within a few blocks. If in doubt, map your bus to Westlake Center and walk.
3. By Car / Parking
Parking downtown isn’t exactly a joy, but you have options:
- Paid garages and lots are scattered around 7th Ave, Westlake Ave, and nearby cross streets.
- Some garages are directly attached or adjacent to Amazon buildings; check the meeting invite, as internal visitors are often given specific garage recommendations.
If you’re visiting for the first time, aim to arrive 15–20 minutes early—you’ll want buffer time for:
- Traffic into downtown.
- Finding a garage that isn’t full.
- Navigating to the correct entrance once you’re on foot.
Quick takeaway: Your biggest risk isn’t getting to the neighborhood—it’s mixing up Doppler with its sibling towers once you’re standing on 7th Avenue.
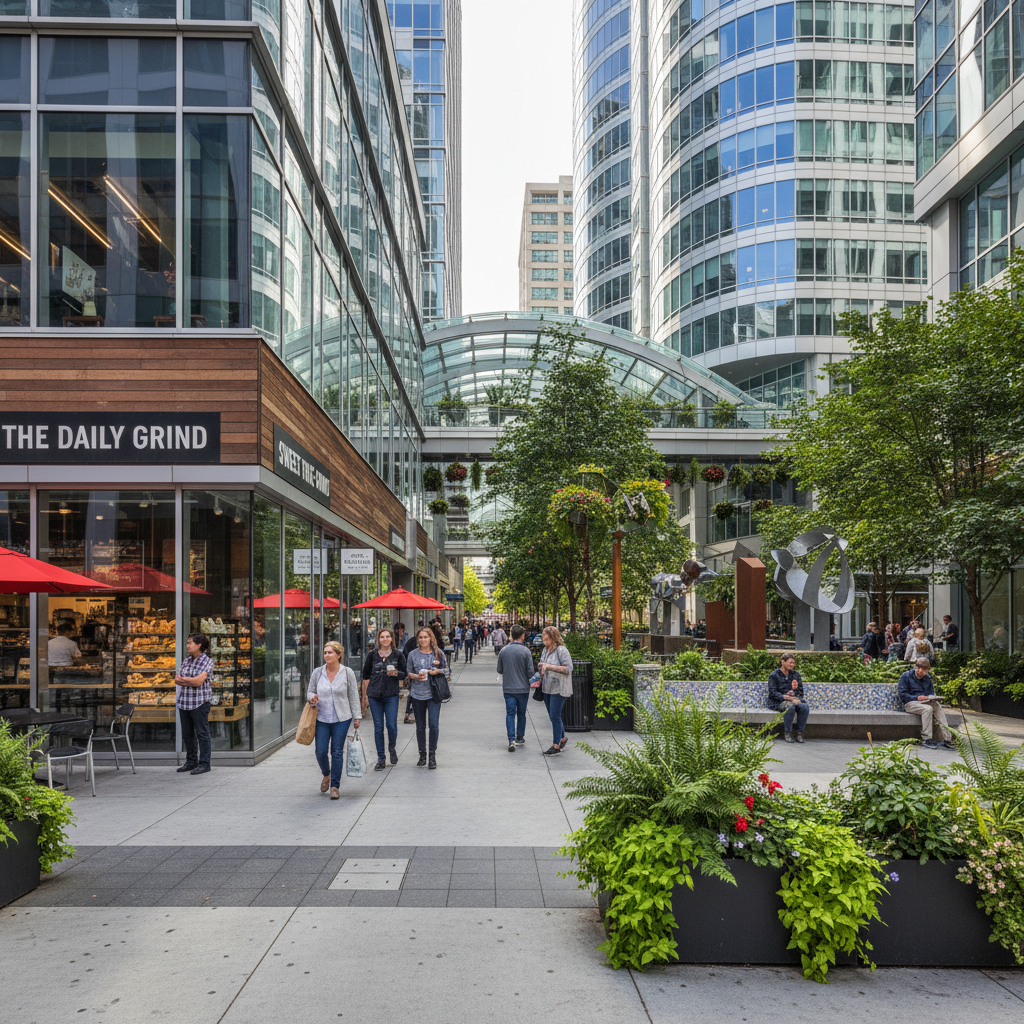
What’s Around the Doppler Building?
One of the perks of meeting at Doppler is that you’re smack in the middle of a very walkable part of downtown Seattle.
Within a short walk you’ll find:
- Coffee & snacks: Starbucks and local cafes, Princi bakery, bagel shops, and various grab‑and‑go spots.
- Fitness & wellness: Boutique gyms and yoga studios sprinkled around Westlake and 6th/7th.
- Retail & errands: Convenience stores, small shops, and access to larger downtown retail within a 10–15 minute walk.
Another cool feature nearby is the Doppler and Meeting Center Breezeway, an outdoor corridor connecting Doppler and the Amazon Meeting Center. It’s designed as a kind of urban arboretum, complete with lush plantings and public art—essentially, a fancy alley that makes your walk between meetings feel a little less like “corporate maze” and a little more like “urban jungle.”
Quick takeaway: Even if you’re just there for one meeting, build in time to walk the block—you’ll get a mini‑tour of Amazon’s HQ vibe.
How to Explain the Doppler Address to Someone Else
Need to help a candidate, friend, or vendor who’s never been to Amazon HQ before? Here’s a simple script you can copy‑paste into a calendar invite or email:
Office: Amazon – Doppler (Amazon Tower I)
Address: 2021 7th Ave, Seattle, WA 98121
Neighborhood: Denny Triangle, downtown Seattle
Notes: This is the Doppler tower, not Day 1 or re:Invent. It’s near the Amazon Spheres. Please arrive 10–15 minutes early to find parking, check in at the lobby, and get your visitor badge.
If they’re coming by transit, you can add:
Take light rail or bus to Westlake Station, then walk north to 7th Ave. Use your phone’s maps app with the address above.
Quick takeaway: Clear naming (“Doppler, not Day 1”) + full street address + neighborhood is usually enough to prevent last‑minute panicked texts.
FAQ: Amazon Doppler Campus Building Address
1. What is the Amazon Doppler building address?
The address is 2021 7th Ave, Seattle, WA 98121, USA.
2. Is Doppler the same as Day 1 or re:Invent?
No. They are three separate Amazon towers within the same HQ cluster. Doppler is Amazon Tower I; Day 1 is Amazon Tower II; re:Invent is another nearby tower.
3. Is Doppler part of the main Amazon Seattle campus?
Yes. Doppler is a core building in the Seattle Downtown (Denny Triangle) headquarters campus, along with Day 1, re:Invent, and the Spheres.
4. Can the public just walk into Doppler?
The building is primarily an employee office space, so visitors generally need an Amazon host and a scheduled meeting. Certain related spaces nearby (like parts of the Spheres or public tours) have limited public access, but don’t assume you can just drop in unannounced.
5. How do I make sure I’m going to the right building?
Double‑check that your calendar event lists:
– Name: Doppler / Amazon Tower I, and
– Address: 2021 7th Ave, Seattle, WA 98121.
If it says 2121 7th Ave, that’s Day 1, not Doppler.
Final Thoughts: Treat Doppler Like a Mini Landmark
When you’re trying to decode Amazon’s building jungle, start simple:
- Remember the name: Doppler (yes, like the Echo codename).
- Lock in the address: 2021 7th Ave, Seattle, WA 98121.
- Use nearby icons (the Spheres, Day 1) to orient yourself once you’re on the ground.
Do that, and the next time someone asks, “Hey, where’s the Amazon Doppler campus building again?”—you won’t just send a pin. You’ll actually know what you’re talking about.