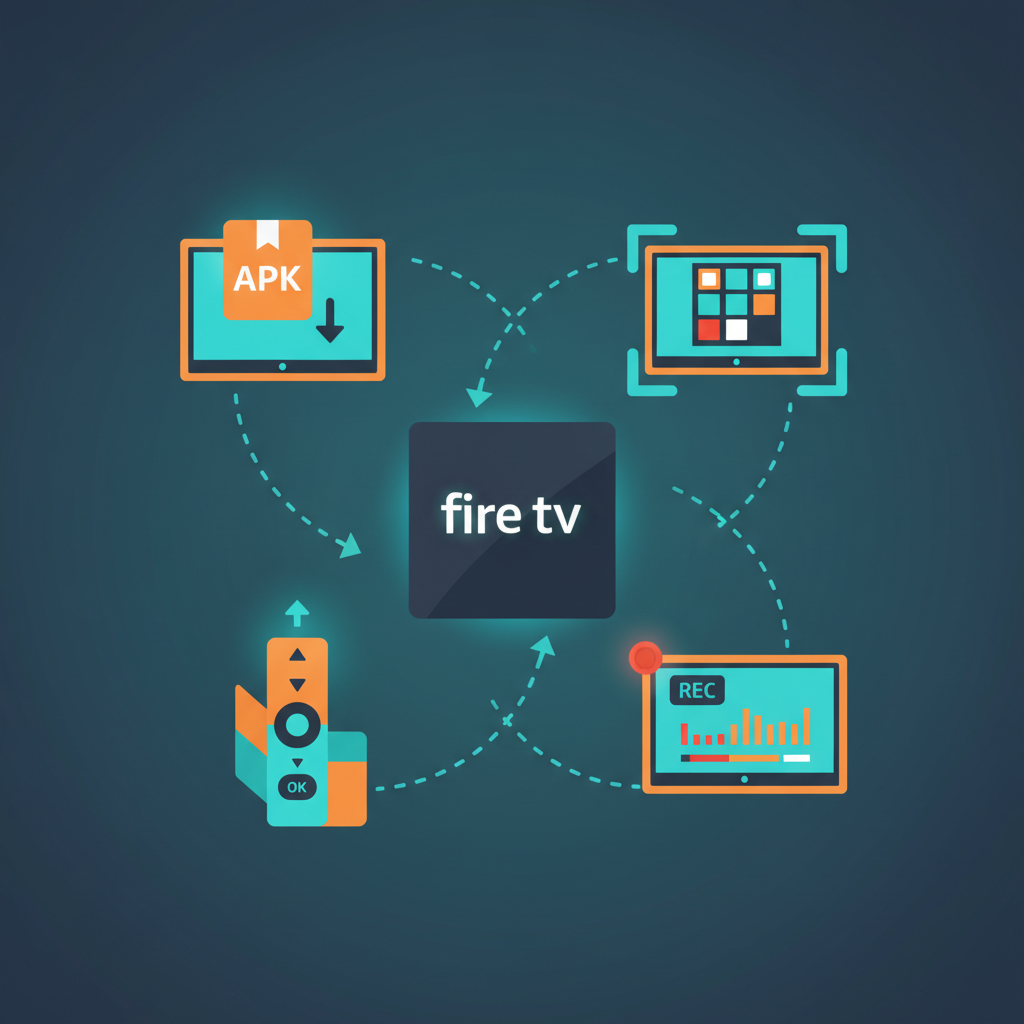
How To Enable ADB Debugging On Amazon Fire TV
If you’ve ever wished your Amazon Fire TV would just do what you tell it—install apps from your computer, grab clean screenshots, or be tamed by a custom script—then you’ve bumped into the magical door called ADB debugging.
In this guide, we’ll walk through exactly how to enable ADB debugging on Amazon Fire TV and Fire TV Stick, what you can do with it, and how to avoid the usual “why is this not working?” headaches.
What Is ADB Debugging on Amazon Fire TV?
Let’s de-jargon this.
ADB stands for Android Debug Bridge. It’s a command-line tool (usually run from your computer) that lets you talk directly to an Android device—like a Fire TV or Fire TV Stick—over USB or Wi‑Fi.
On Amazon Fire TV, ADB debugging lets you:
- Install and uninstall apps via your computer
- Capture screenshots or screen recordings
- View logs for troubleshooting
- Send input events (simulate remote presses, text input)
- Automate tasks or run scripts
In short: enabling ADB debugging turns your Fire TV from a simple streaming box into a developer‑friendly device you can control remotely.
Prerequisites: What You Need Before You Start
Before enabling ADB debugging on Amazon Fire TV, make sure you have:
-
A compatible device
Any relatively recent Fire TV, Fire TV Stick, Fire TV Cube, or Fire TV Edition smart TV should support ADB. -
Your Fire TV connected to the same network as your computer (if you plan to use ADB over Wi‑Fi).
Both devices must be on the same local network (same router/Wi‑Fi). -
A computer with ADB installed (for when you’re ready to connect):
Windows, macOS, or Linux works fine. You’ll need the Android platform-tools (which includeadb).
You can enable ADB debugging first and set up the computer side later, so don’t worry if you haven’t installed ADB yet.
Step-by-Step: How To Enable ADB Debugging on Amazon Fire TV
The exact menu wording can vary slightly between Fire OS versions and devices, but the flow is very similar.
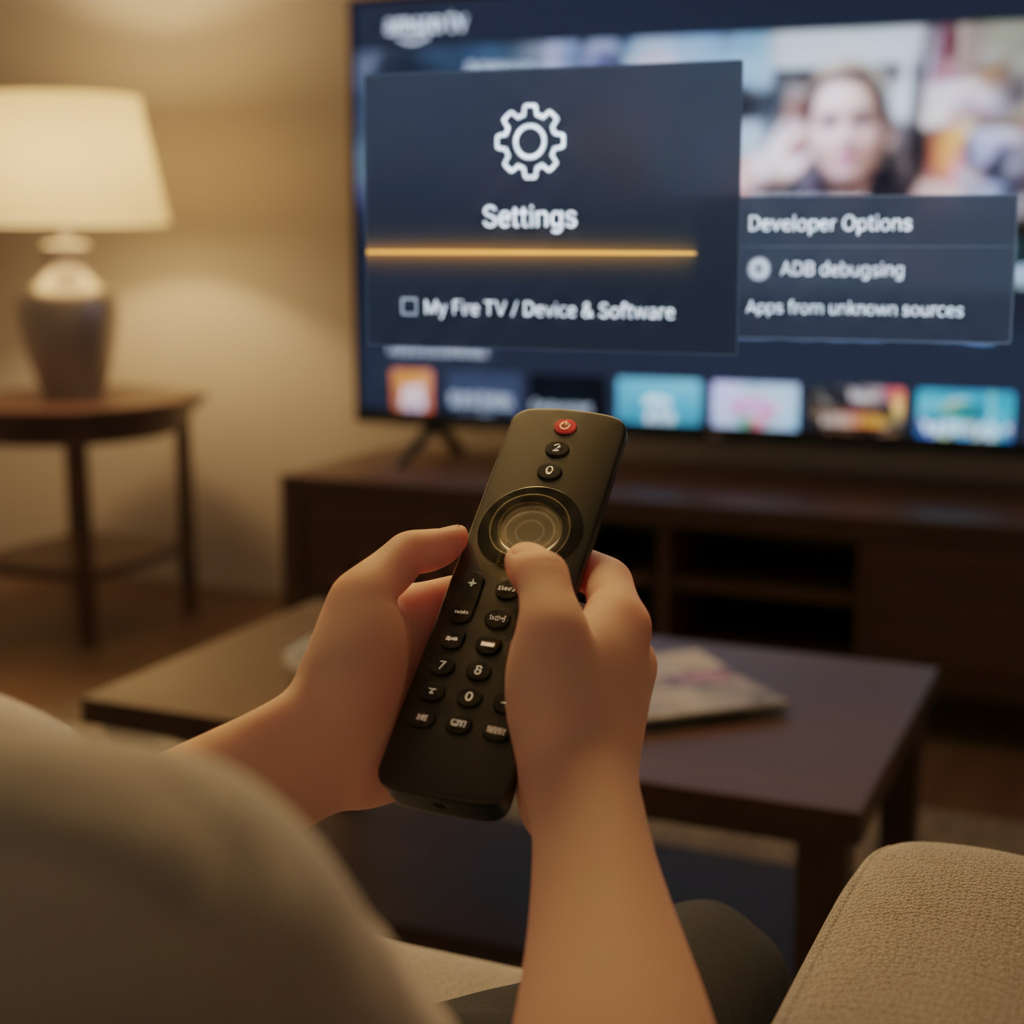
1. Open Settings on Your Fire TV
From the Fire TV home screen:
- Use your remote to go to the gear icon (⚙) or select Settings.
If your home UI is more classic:
- Navigate to the top menu and scroll to Settings.
2. Go to My Fire TV (or Device & Software)
In Settings, scroll and select My Fire TV. On newer Fire OS builds it might be labeled:
- My Fire TV
- Device & Software
Select whichever one appears; this is the “device settings” section.
3. Enable Developer Options (If You Don’t See It)
On many Fire TV devices, Developer Options is hidden by default. You need to unlock it with a little “Easter egg” sequence.
Do this:
- In My Fire TV / Device & Software, select About.
- Highlight your device name (e.g., Fire TV Stick 4K, Fire TV Cube, etc.).
- Press the Select/OK button on the remote 7 times in a row.
- You should see a small toast message along the lines of:
- “You are now a developer” or
- “No need, you are already a developer.”
Now go back one level; you should see a new menu item called Developer Options.
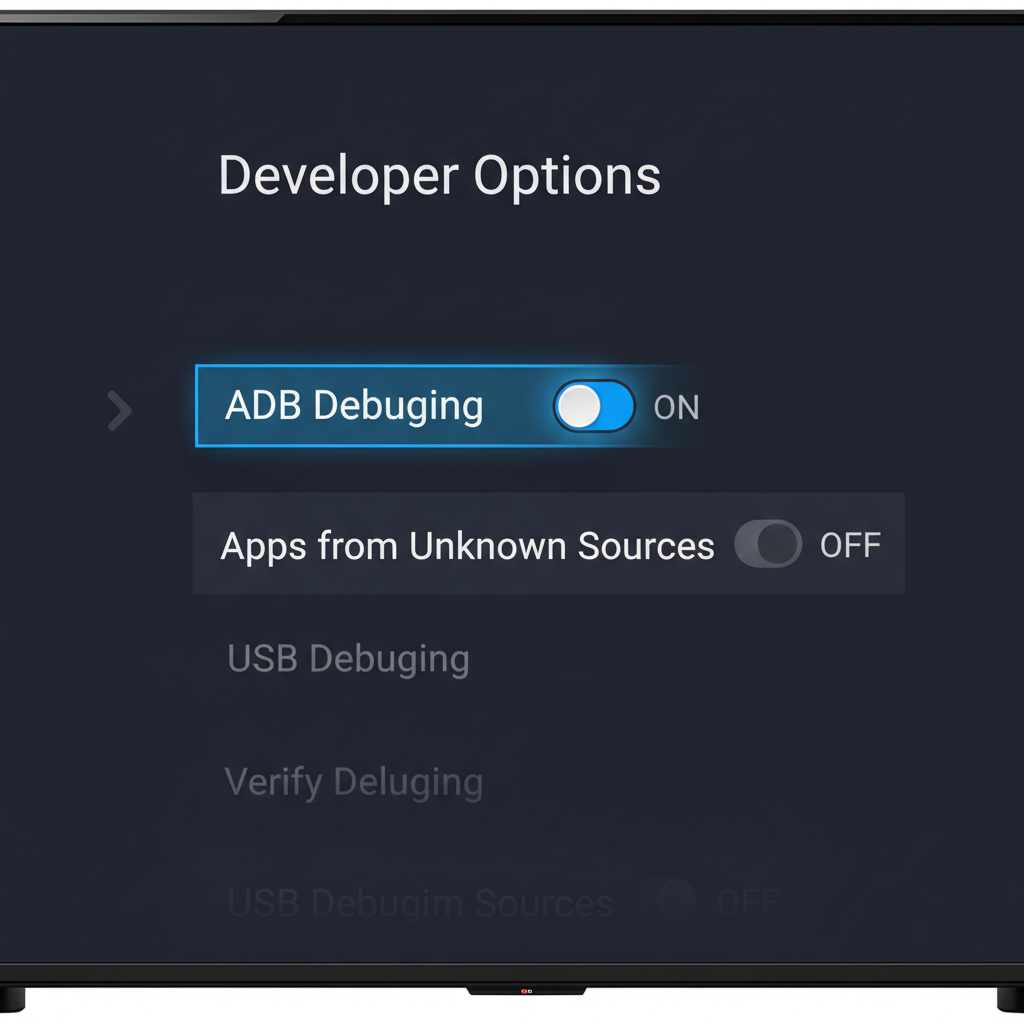
4. Open Developer Options
Now go to:
Settings → My Fire TV (or Device & Software) → Developer Options
Inside Developer Options you’ll see at least:
- ADB Debugging
- Apps from Unknown Sources (wording and behavior may vary by Fire OS version)
5. Turn On ADB Debugging
Inside Developer Options:
- Highlight ADB Debugging.
- Press Select to toggle it to ON.
That’s it—ADB debugging is now enabled on your Amazon Fire TV.
Optional but Common: Allow Apps from Unknown Sources
While you’re in Developer Options, you’ll probably also see:
- Apps from Unknown Sources
If you plan to sideload apps (install APKs that aren’t from the Amazon Appstore), you’ll usually need to enable this.
Depending on Fire OS version, you’ll see either:
- A single global toggle: Apps from Unknown Sources: ON/OFF, or
- Per‑app controls: Install unknown apps → [choose an app like Downloader, File Manager, etc.] → Allow from this source: ON
If you’re only here for ADB debugging (e.g., screenshots, logcat, automation), you don’t have to enable unknown sources. But many people do both while they’re in Developer Options.
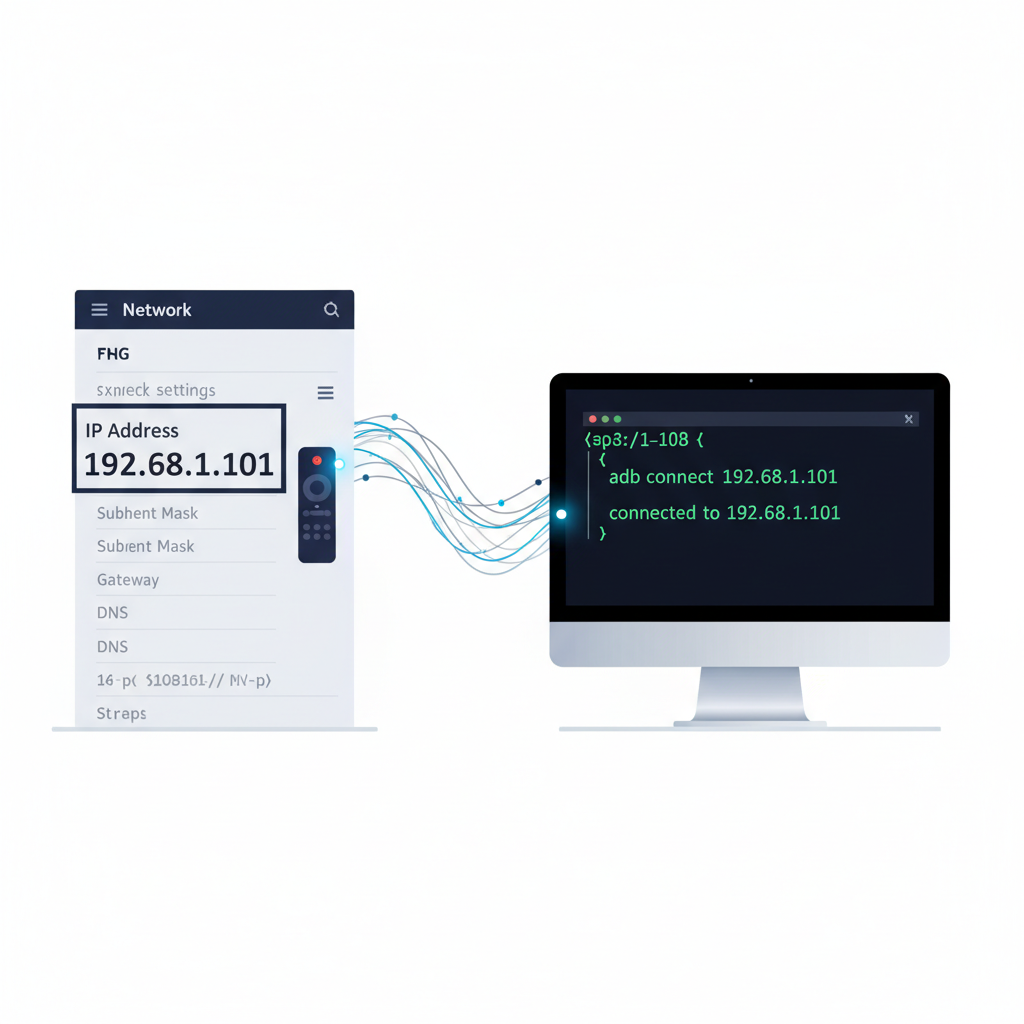
Find Your Fire TV’s IP Address (For ADB Over Wi‑Fi)
To connect from your computer using ADB over the network, you’ll need your Fire TV’s IP address.
On your Fire TV:
- Go to Settings → Network.
- Highlight the Wi‑Fi (or Ethernet) network your Fire TV is connected to.
- On the right side, you should see details, including IP Address (something like
192.168.1.45).
Write this down; we’ll use it in a moment.
How To Connect to Amazon Fire TV Using ADB (From Your Computer)
Now that ADB debugging is enabled, let’s actually talk to the device from your computer.
1. Install ADB (Android Platform-Tools)
On your computer (Windows, macOS, or Linux):
- Download the Android SDK Platform-Tools from Google.
- Extract the archive to a convenient folder.
- Open a terminal (macOS/Linux) or Command Prompt/PowerShell (Windows) in that folder.
You should be able to run:
adb versionIf it prints version info, you’re good.
2. Connect via IP Address
Use the IP address you grabbed from the Fire TV.
In your terminal/command prompt:
adb connect FIRE_TV_IP_ADDRESSFor example:
adb connect 192.168.1.45On your Fire TV, you’ll likely see a pop‑up:
Allow USB debugging? (Yes, they still call it that even over Wi‑Fi.)
Options usually include:
- Allow
- Always allow from this computer
- Cancel
Select Allow (and optionally “Always allow…” if it’s your personal machine).
If the connection succeeds, the terminal will say something like:
connected to 192.168.1.45:5555You can confirm with:
adb devicesYou should see your Fire TV listed as a connected device.
Useful ADB Commands for Amazon Fire TV
Once you’ve enabled ADB debugging and connected, here are some practical things you can do.
Tip: The command prefix is always
adb(from your computer), not on the Fire TV itself.
1. Install an APK
adb install path/to/app.apkThis sideloads an app directly onto your Fire TV.
2. Uninstall an App
adb uninstall PACKAGE_NAMEExample:
adb uninstall com.example.myappYou can get package names using:
adb shell pm list packages3. Take a Screenshot
adb shell screencap -p /sdcard/screen.png
adb pull /sdcard/screen.png
This creates a screenshot on the Fire TV and then copies it to your computer.
4. Record the Screen (If Supported)
adb shell screenrecord /sdcard/demo.mp4
# Press Ctrl+C to stop after some time
adb pull /sdcard/demo.mp4
5. Simulate Remote Button Presses
The Fire TV remote uses key events. For example, to simulate Home:
adb shell input keyevent 3To simulate DPAD Center (Select):
adb shell input keyevent 23This is very handy for automation or when your physical remote is being dramatic.
Common Problems When Enabling ADB Debugging on Fire TV (and Fixes)
Let’s tackle the usual pain points.
1. “ADB Debugging Option Is Missing”
Symptom: In Developer Options, you don’t see ADB Debugging.
Fix checklist:
- Make sure you really unlocked Developer Options (tap device name 7 times under About).
- Verify you’re in My Fire TV → Developer Options, not another menu.
- If it’s a very old device or heavily locked‑down OS build (e.g., certain hotel or school managed devices), debugging might be restricted.
2. “ADB Can’t Connect to the Device”
Symptom: You run adb connect, but it says unable to connect or just hangs.
Fix checklist:
- Make sure ADB Debugging is actually ON on the Fire TV.
- Confirm your computer and Fire TV are on the same local network.
- Double‑check the IP address hasn’t changed (some routers reassign IPs).
- Try:
adb kill-server adb start-server adb connect YOUR_IP - If you have a firewall or VPN on your computer/router, it might be blocking local connections.
3. “No Authorization Prompt on TV”
Symptom: adb connect works, but device shows as unauthorized in adb devices.
Fix checklist:
- On Fire TV, go to Developer Options, turn ADB Debugging OFF, then back ON.
- Run
adb disconnect, thenadb connectagain. - If needed, select Revoke USB debugging authorizations (if available) on the Fire TV, and reconnect.
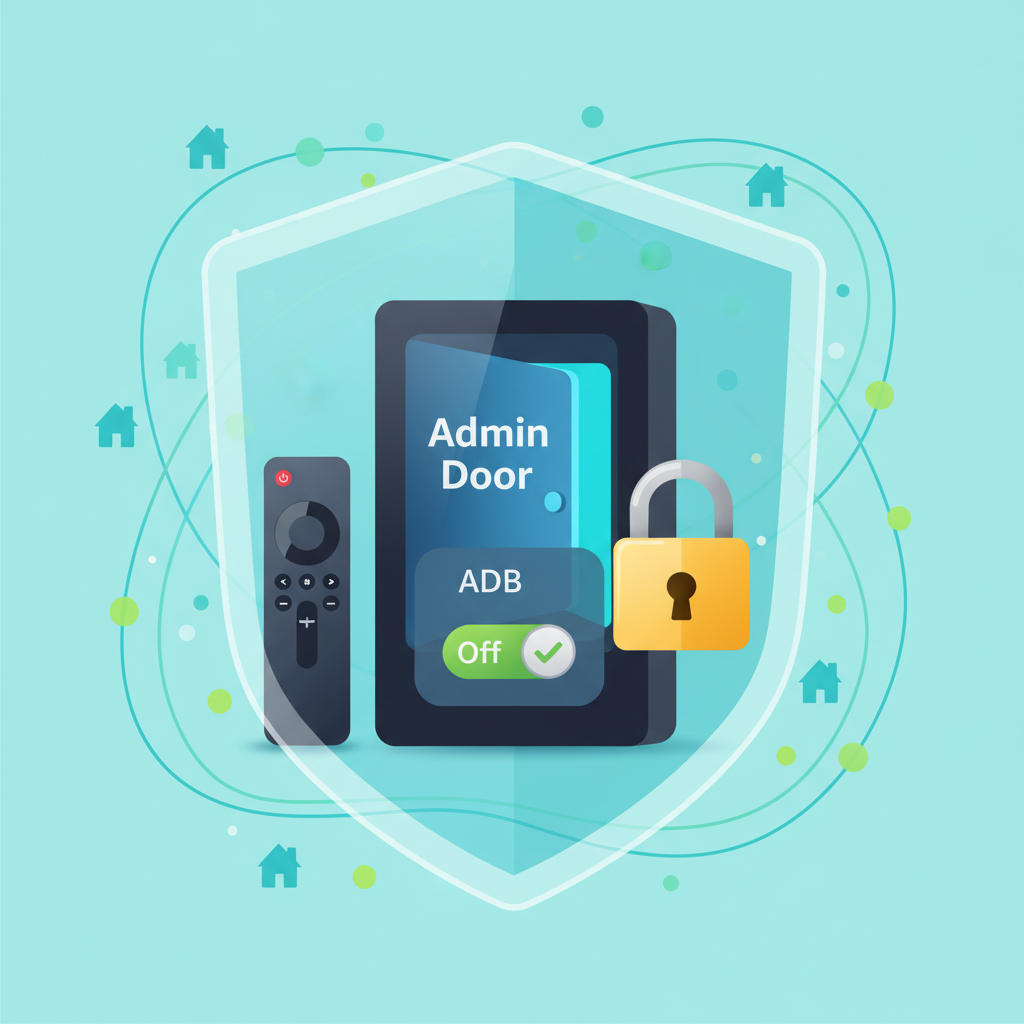
Is It Safe To Enable ADB Debugging on Amazon Fire TV?
Short version: It’s safe if you trust your network and the computers connecting to it.
Potential risks:
- If someone on your local network knows your Fire TV IP and ADB is enabled, they might connect and control it.
- If you’ve selected “Always allow from this computer” on a machine you no longer control, that’s a trust risk.
Best practices:
- Only enable ADB debugging on trusted home networks.
- Turn ADB Debugging OFF when you’re done using it.
- Avoid enabling it on public, hotel, or shared networks.
Quick Recap: How To Enable ADB Debugging on Amazon Fire TV
Here’s the whole process condensed into a checklist:
- On Fire TV, go to Settings → My Fire TV (or Device & Software).
- If Developer Options is missing: enter About, highlight your device name, press Select 7 times.
- Open Developer Options.
- Toggle ADB Debugging → ON.
- (Optional) Enable Apps from Unknown Sources if you plan to sideload apps.
- Go to Settings → Network, note your IP address.
- On your computer, install Android platform-tools (ADB).
- In a terminal, run
adb connect FIRE_TV_IP, then approve the prompt on your TV.
Once that’s done, you can:
- Install apps with
adb install - Grab screenshots with
adb shell screencap - Automate navigation with
adb shell input
And just like that, your Amazon Fire TV graduates from “streaming box” to “tweakable, scriptable dev device.”
Leave a Reply